

What’s going on fellow renovators! Today is an exciting day- I finally get to reveal to you our first finished room at The Beige Bungalow. As you may have picked up in the post about popcorn ceiling repair, I dropped a hint about finally unveiling the main/guest bathroom. This particular project had it’s up and down’s, however, overall it went off without much of a hitch. Unlike some of the other goings-on at the house, I decided to share this project once it was fully complete. I have learned rather quickly that a long day at the house does not leave much attention span to sit down and write a good recount of the renovation. Instead of stressing out about revealing every step in a series of shorter posts, I decided it was best to write this project as a whole. It is on the longer side, but still worth every minute of your time! 😉
Just 3 days after taking possession we set to work tearing out this bathroom. The tub tiles were grimy, the grout was cracking, and there was clearly some mold and water damage from years of use. Needless to say, removal was quick and the tub and surround, toilet, and vanity were gone within what seemed like a matter of minutes (many thanks to my brother-in-laws handy work with a hammer). We were left with a blank slate that somehow still looked better than what was originally there (yes I get it, I am terrible at before photos. I really am trying to be better!)
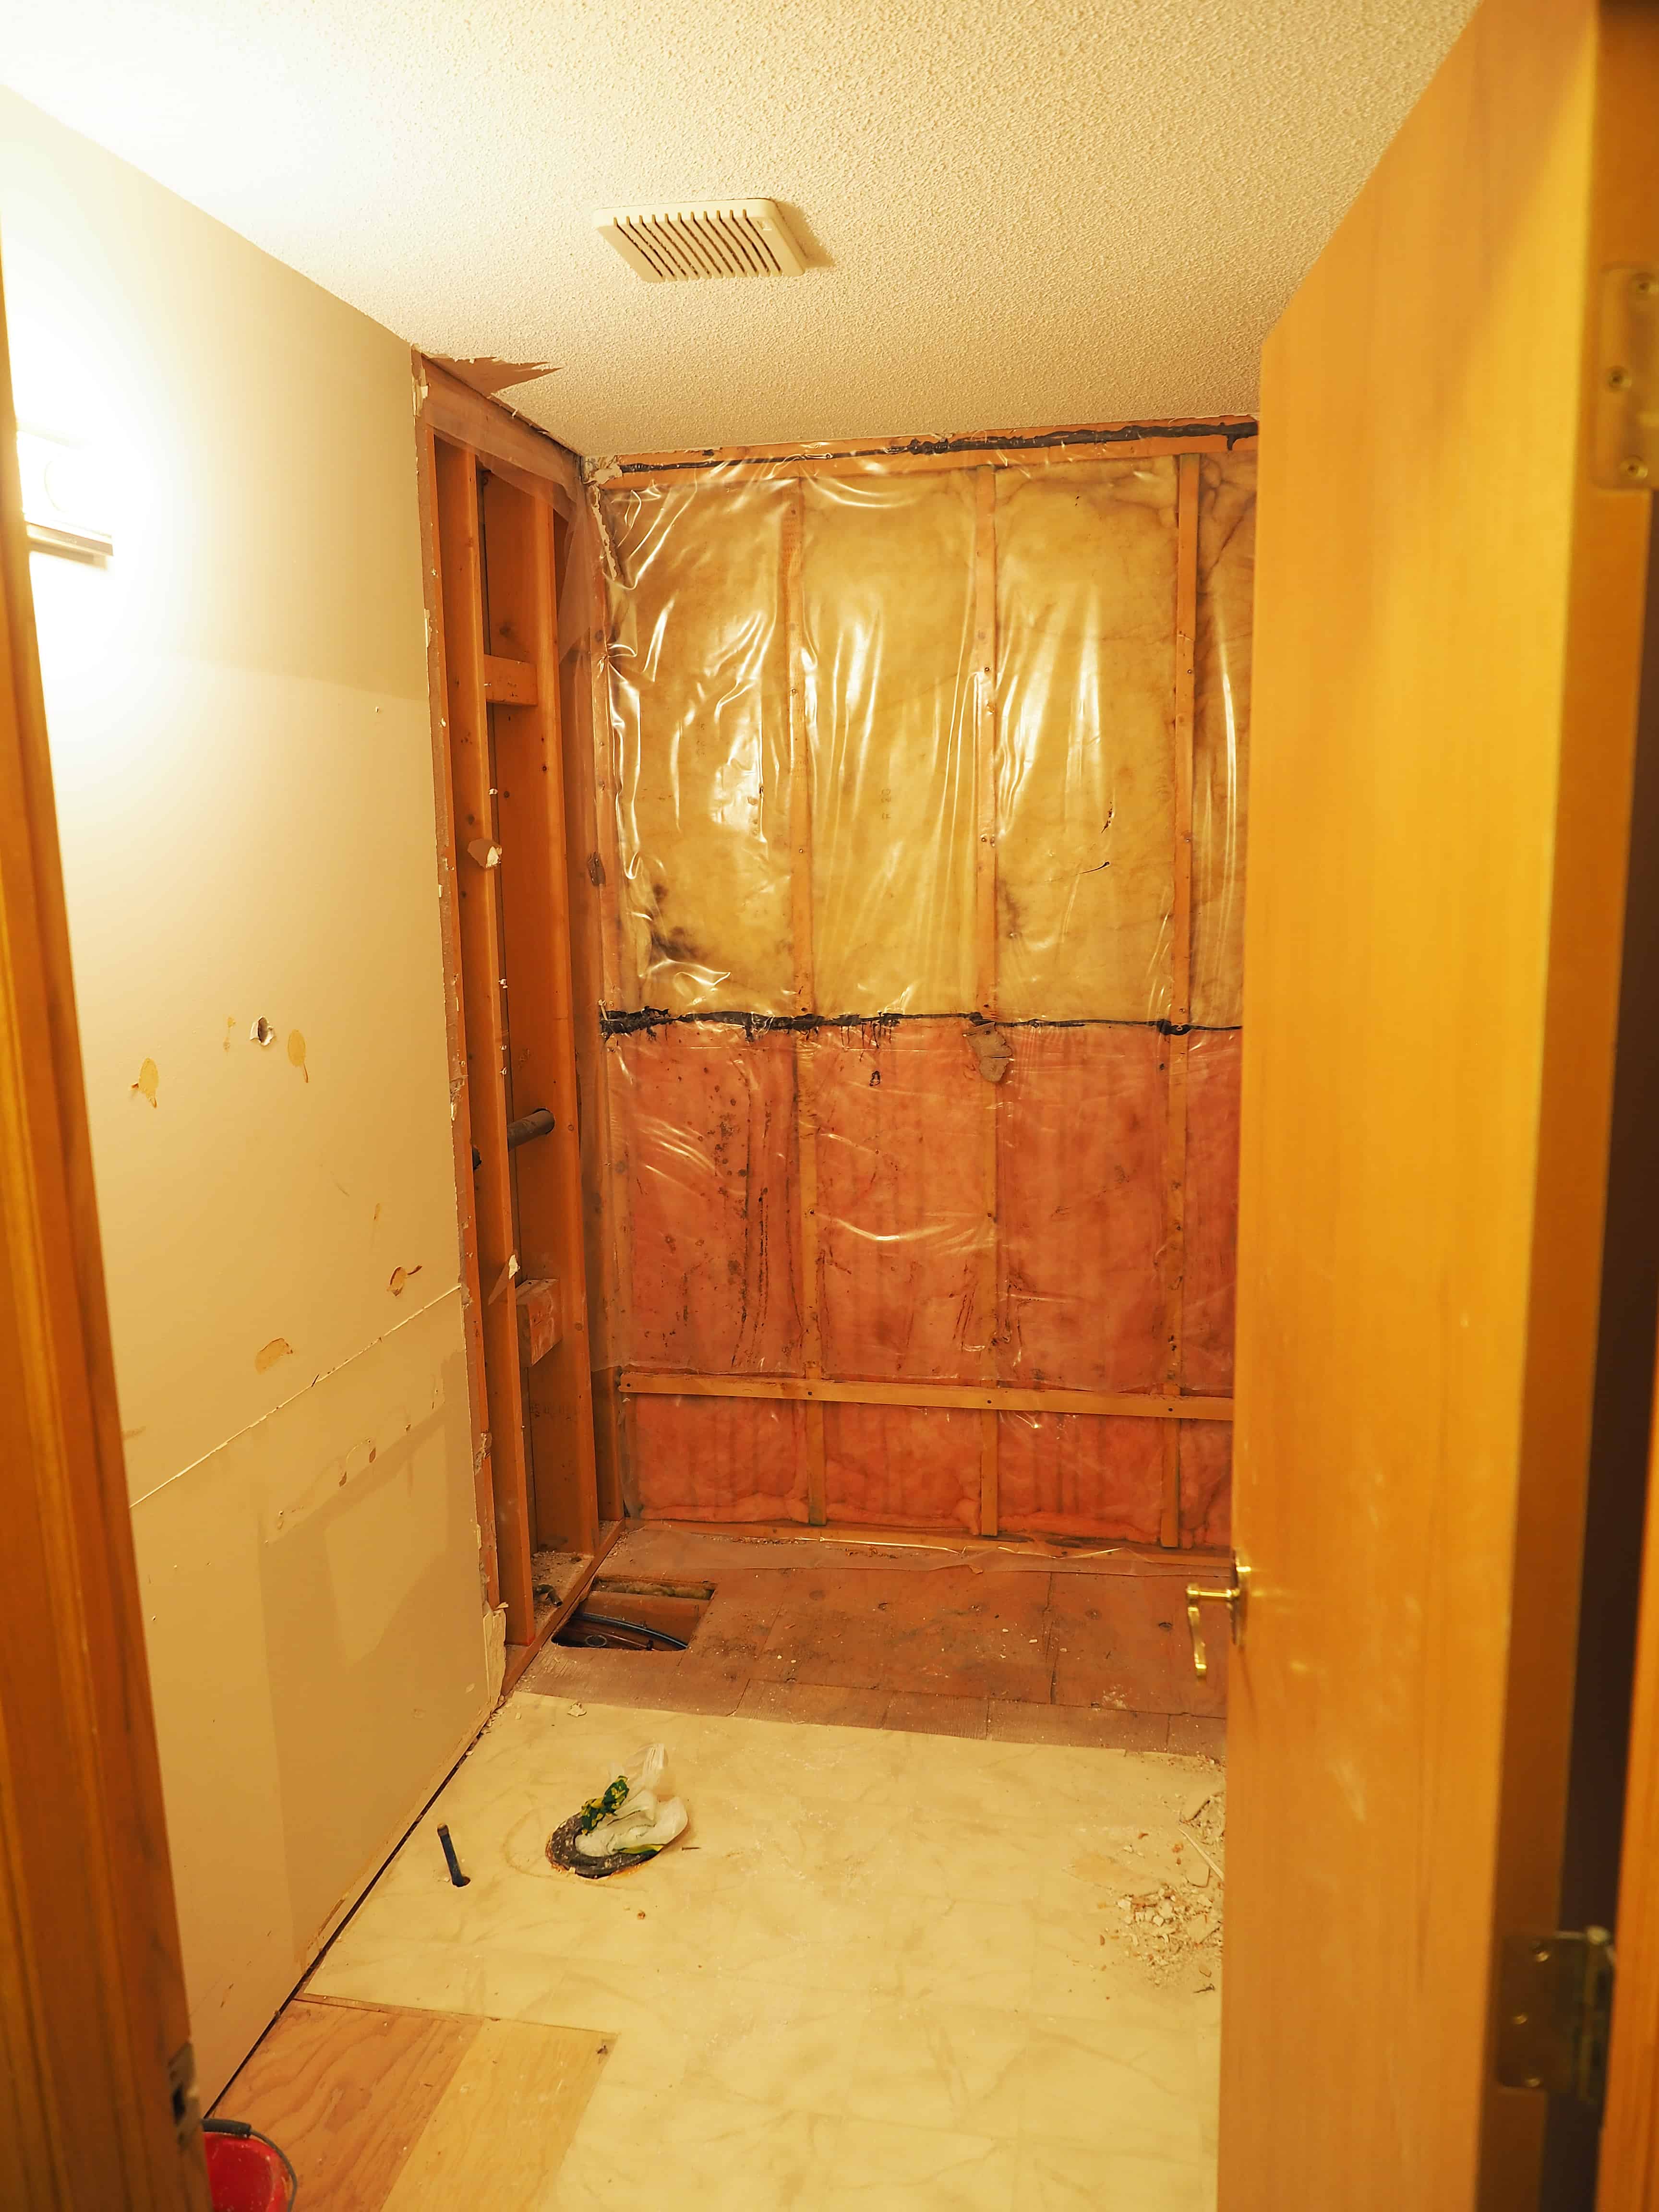
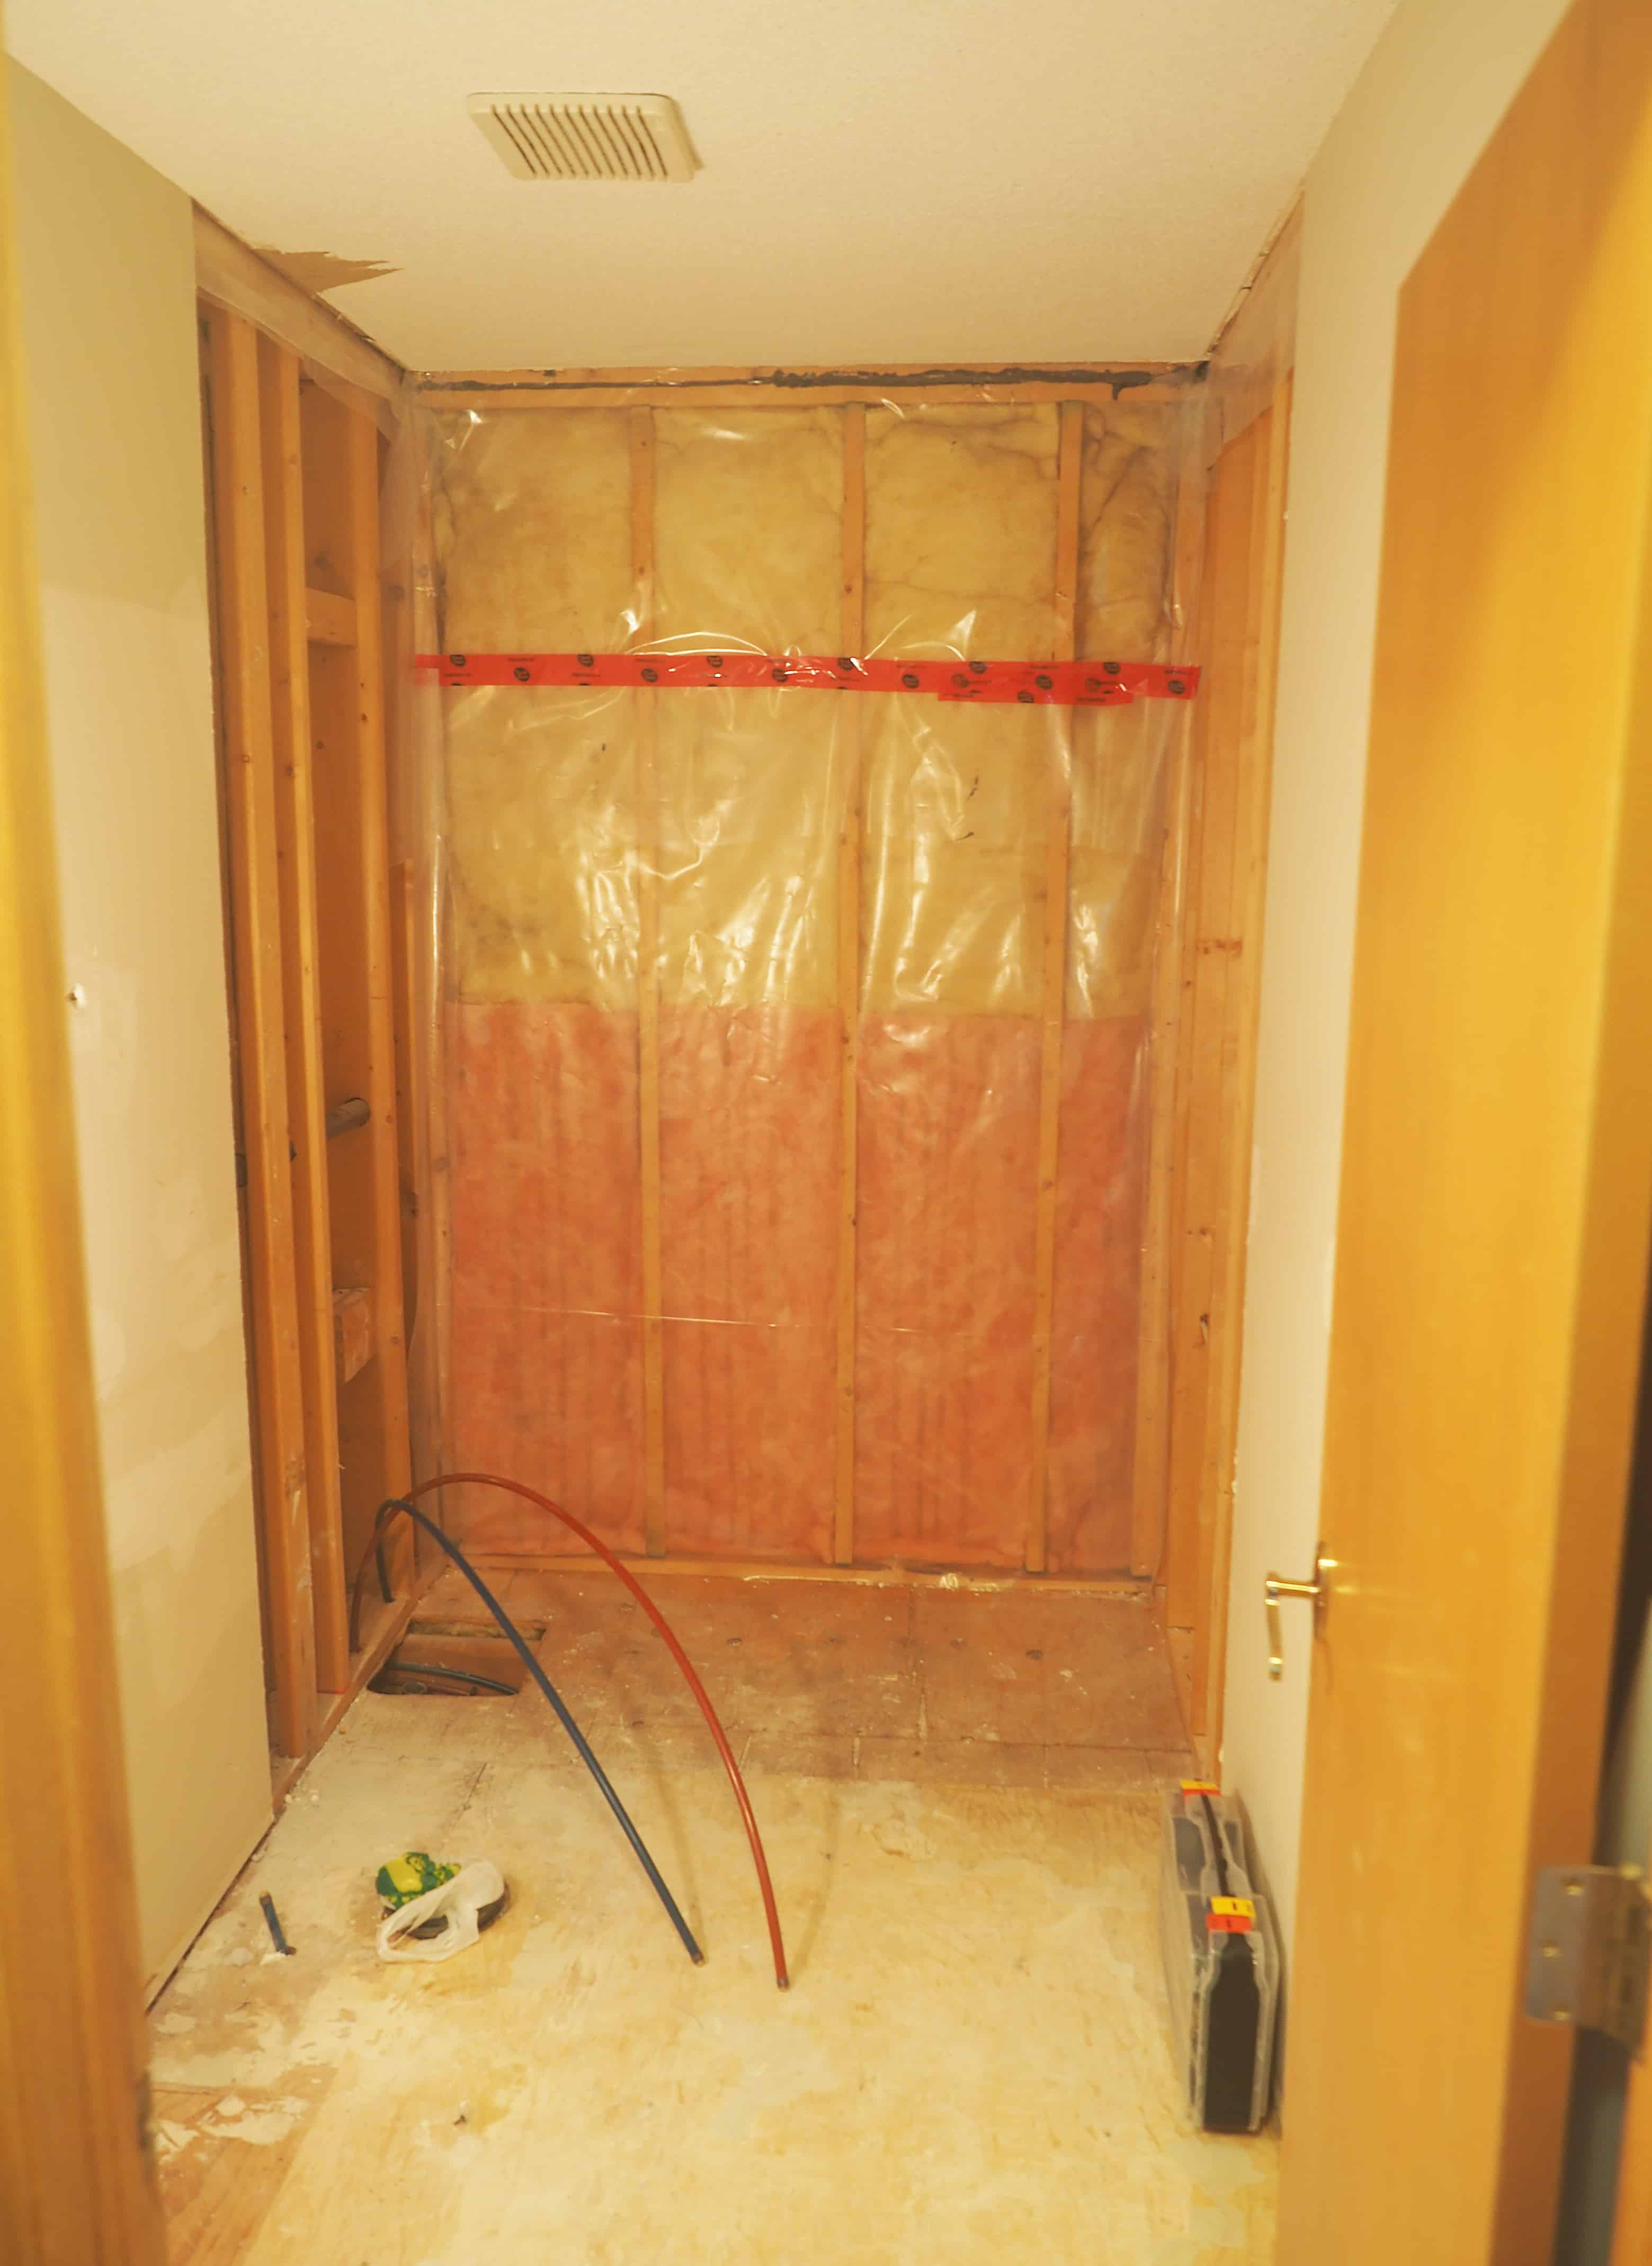
Thankfully the mold was minimal and contained to only the drywall with the odd bit of black on the vapor barrier. No big deal as we planned on replacing the vapor barrier anyways since it would be open and accessible. The roll vinyl flooring was removed, and it finally felt like we had a clean room in which we could begin construction.
The easy part about this project was deciding on a floor plan- leaving it the exact same. The bathroom is exactly the width of a 60″ bathtub, and long enough to have a decent sized vanity and room for a toilet. Further yet, as you can see from the pictures the door is offset to the right side of the bathroom, making changing the layout all that much tougher. Regardless, there really was no need to change the layout as it was perfectly fine and functional the way it was.
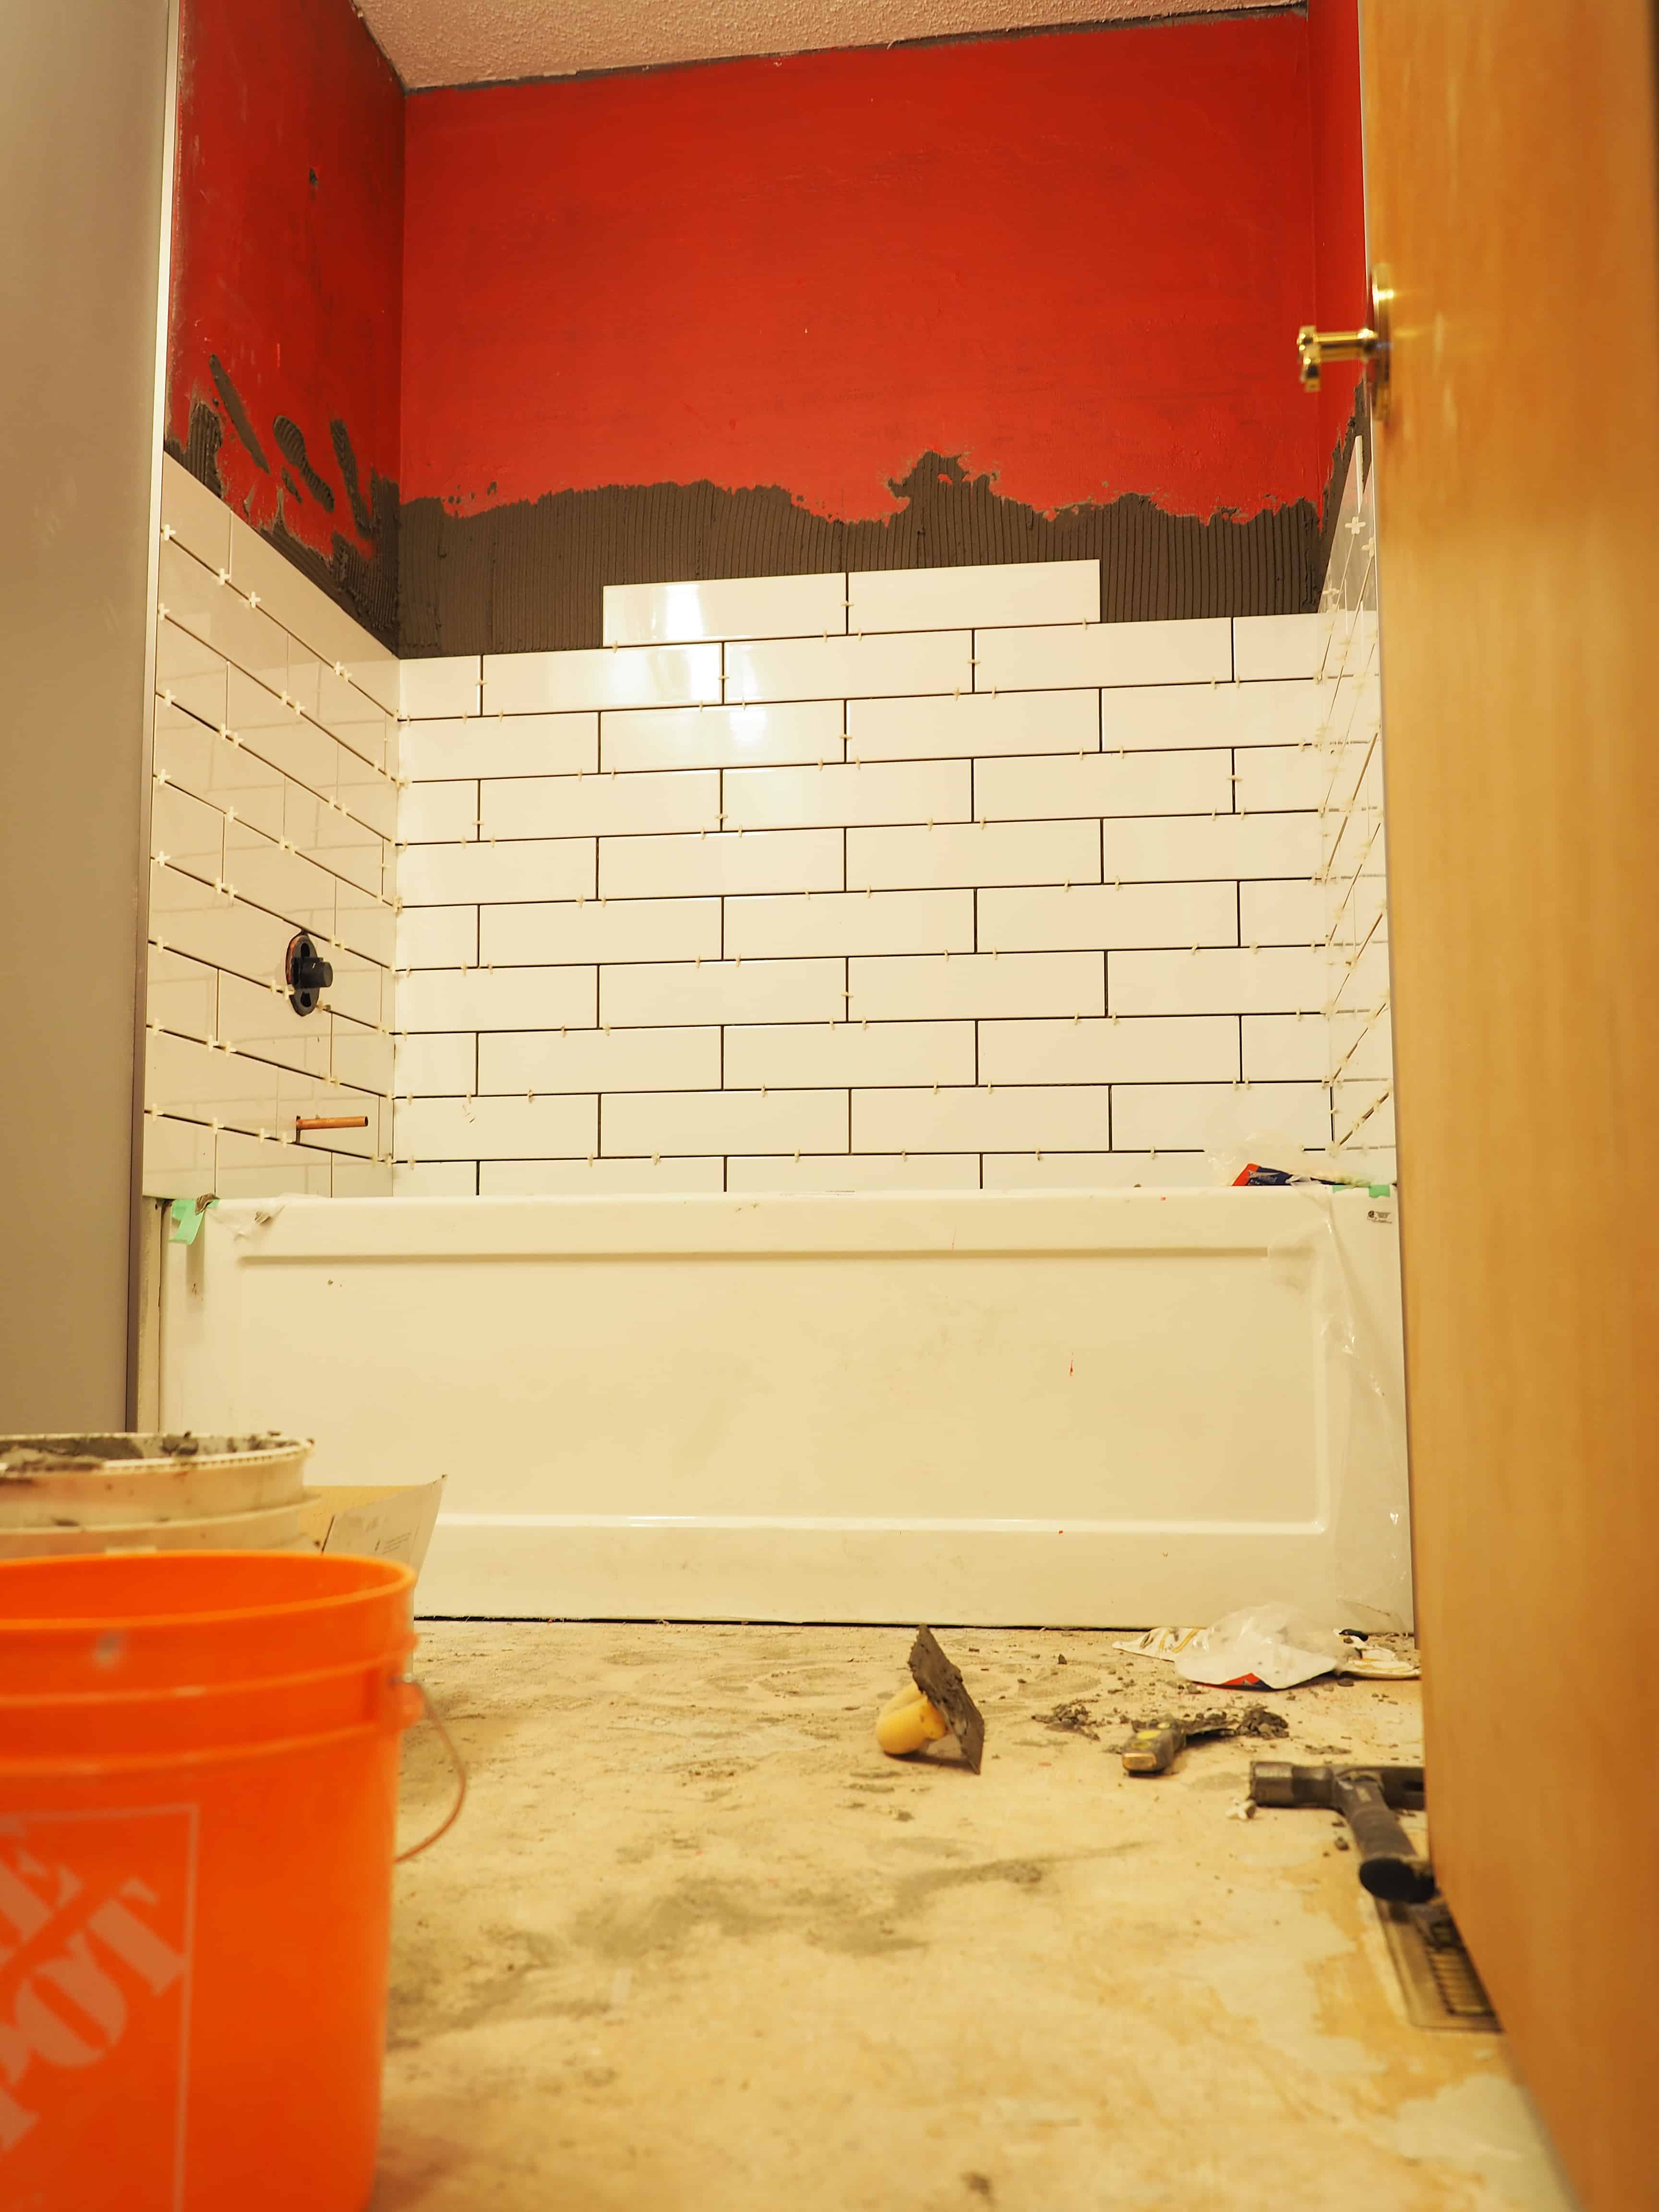
The first job would be installing the bathtub. Seeing as how this is the main/guest bathroom and won’t be used all that regularly, there was no need to break the bank. We settled on an acrylic alcove tub from Home Depot (I believe it was the MAAX Avenue). But as soon as we got it home and out of the box, I noticed the tub rim (flat portion at the back of your tub that the tiles should set on) was far to thin. In fact, once the cement board and tile were in place, they would have hung over the lip of the tub itself. So back in the box, and back to Home Depot it went. After looking around, we found a much better option at Lowes (Mirolin Tucson) for basically the same price. Better yet, the tub rim was around 3 inches wider leaving plenty of room. Finally, we were ready to go. By the end of the day, the tub was installed, the cement board was up and we actually had a room that was starting to resemble a bathroom.
This is what it looked like then:
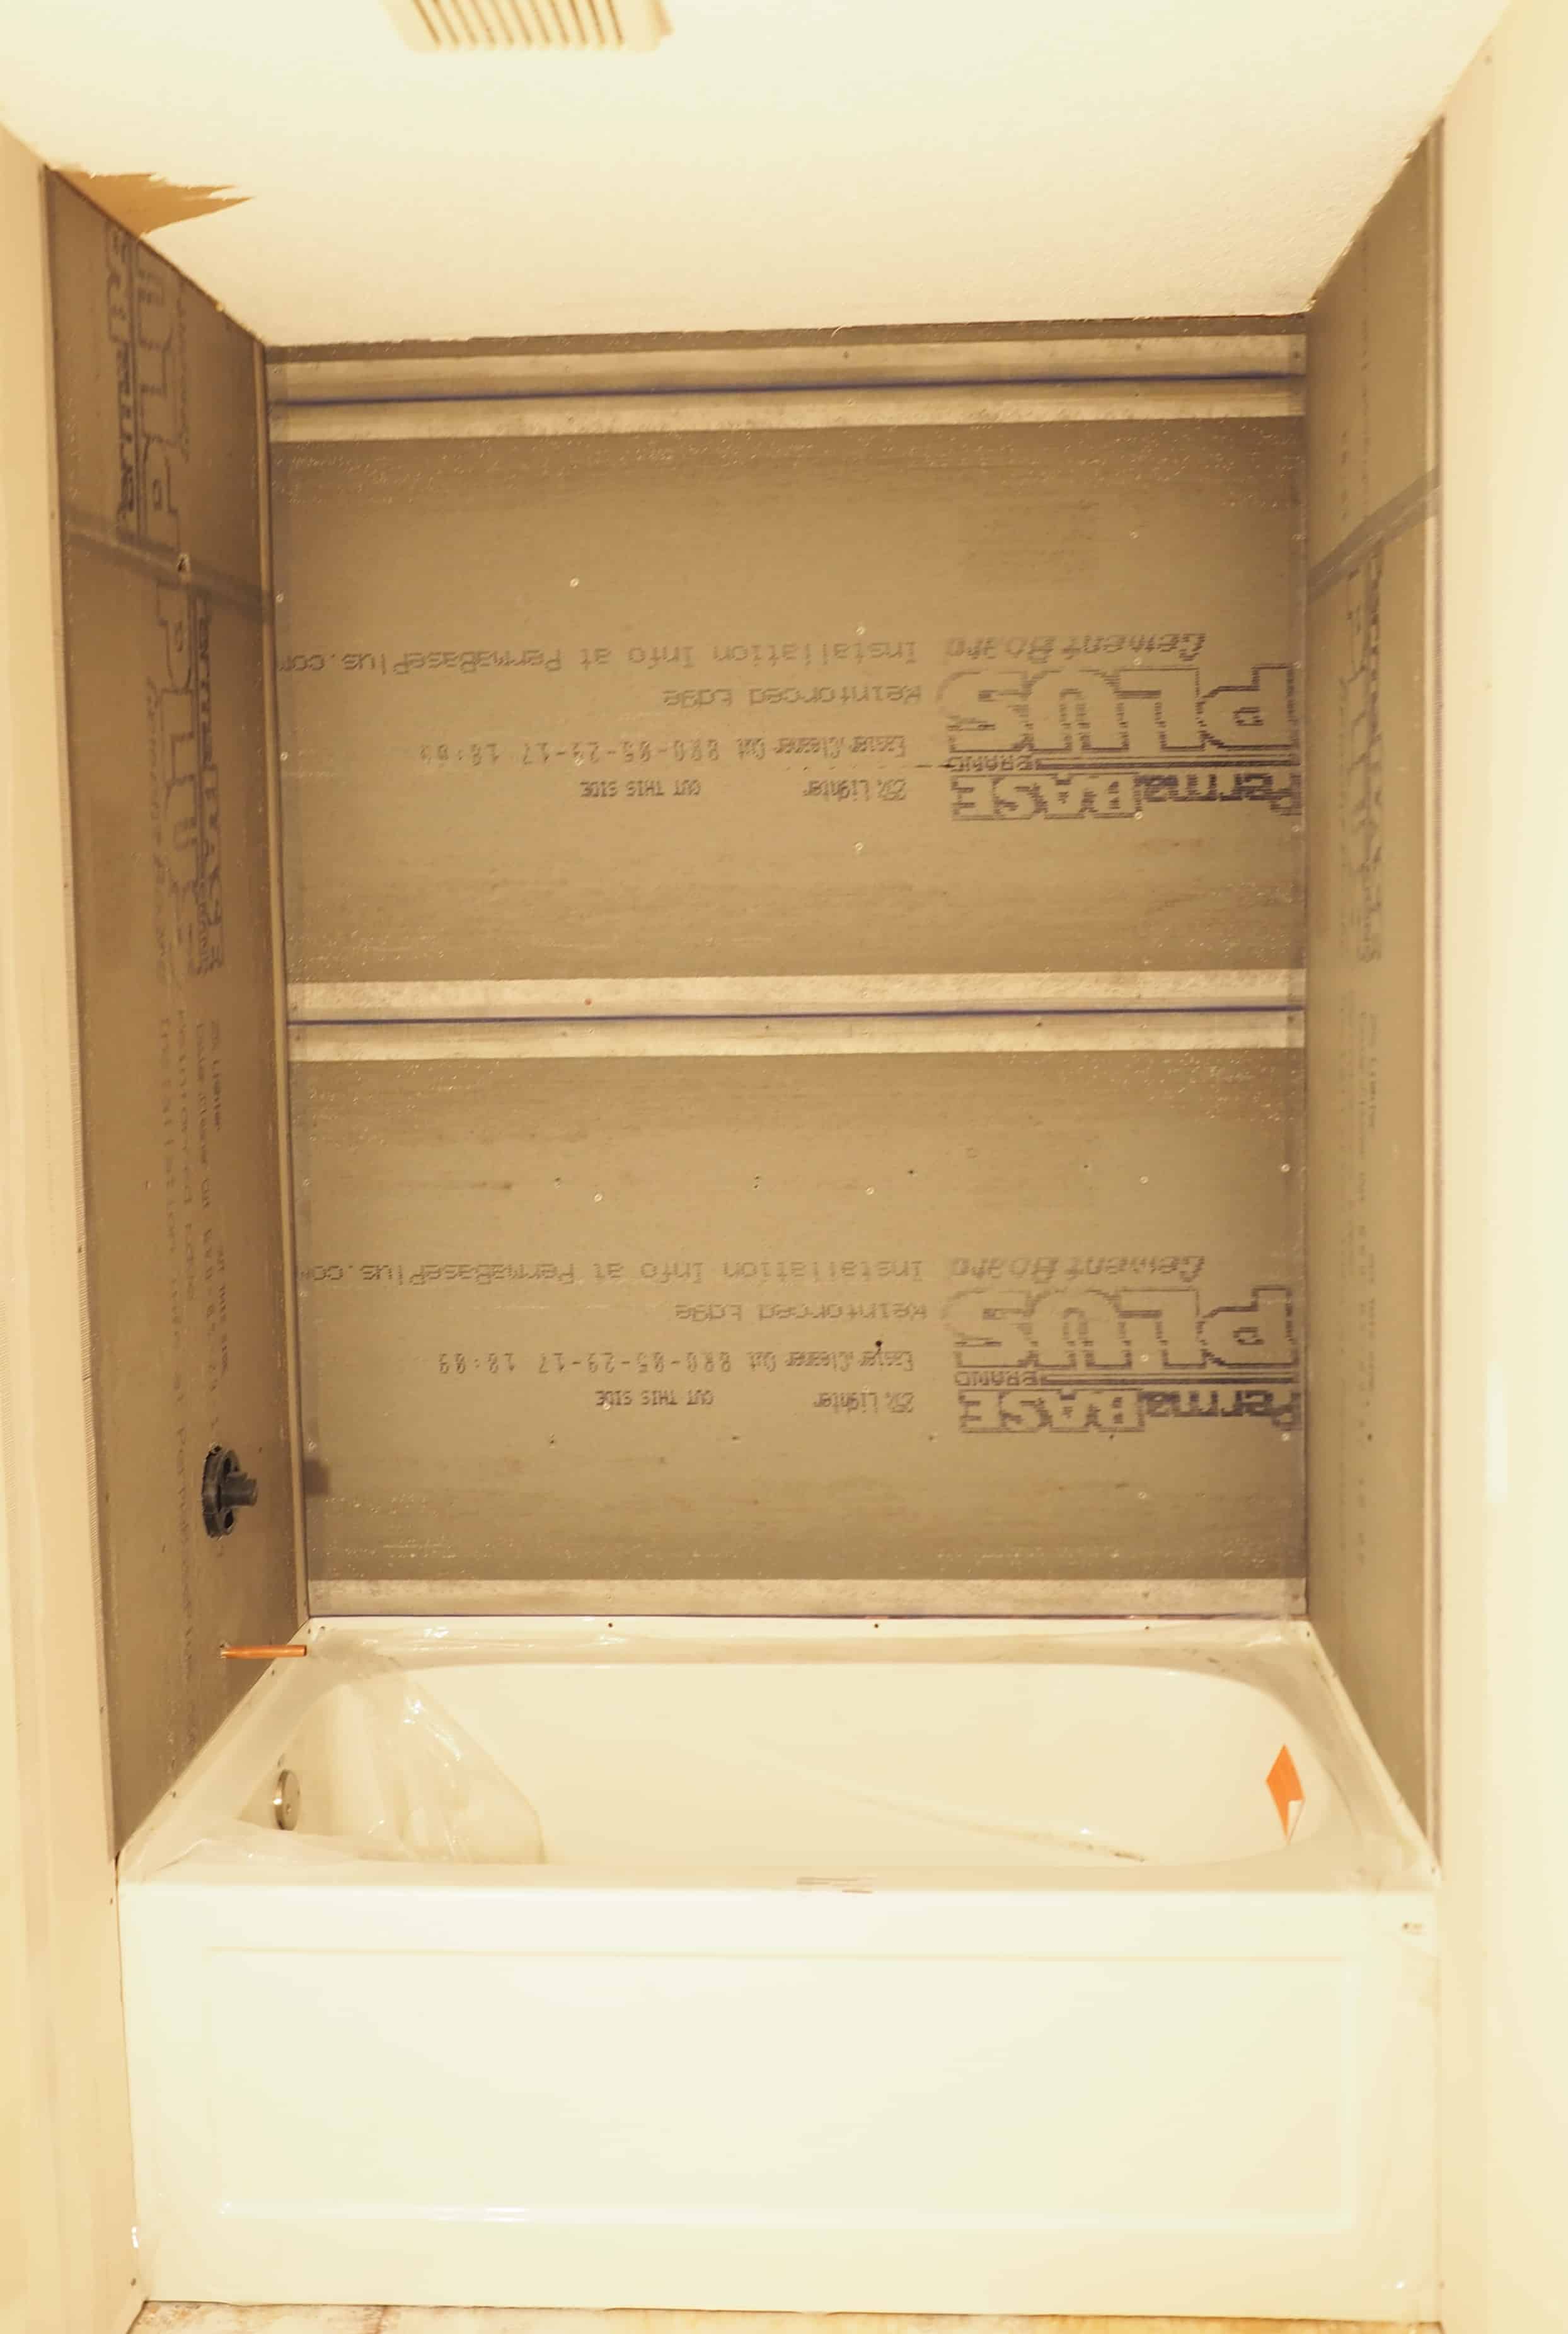
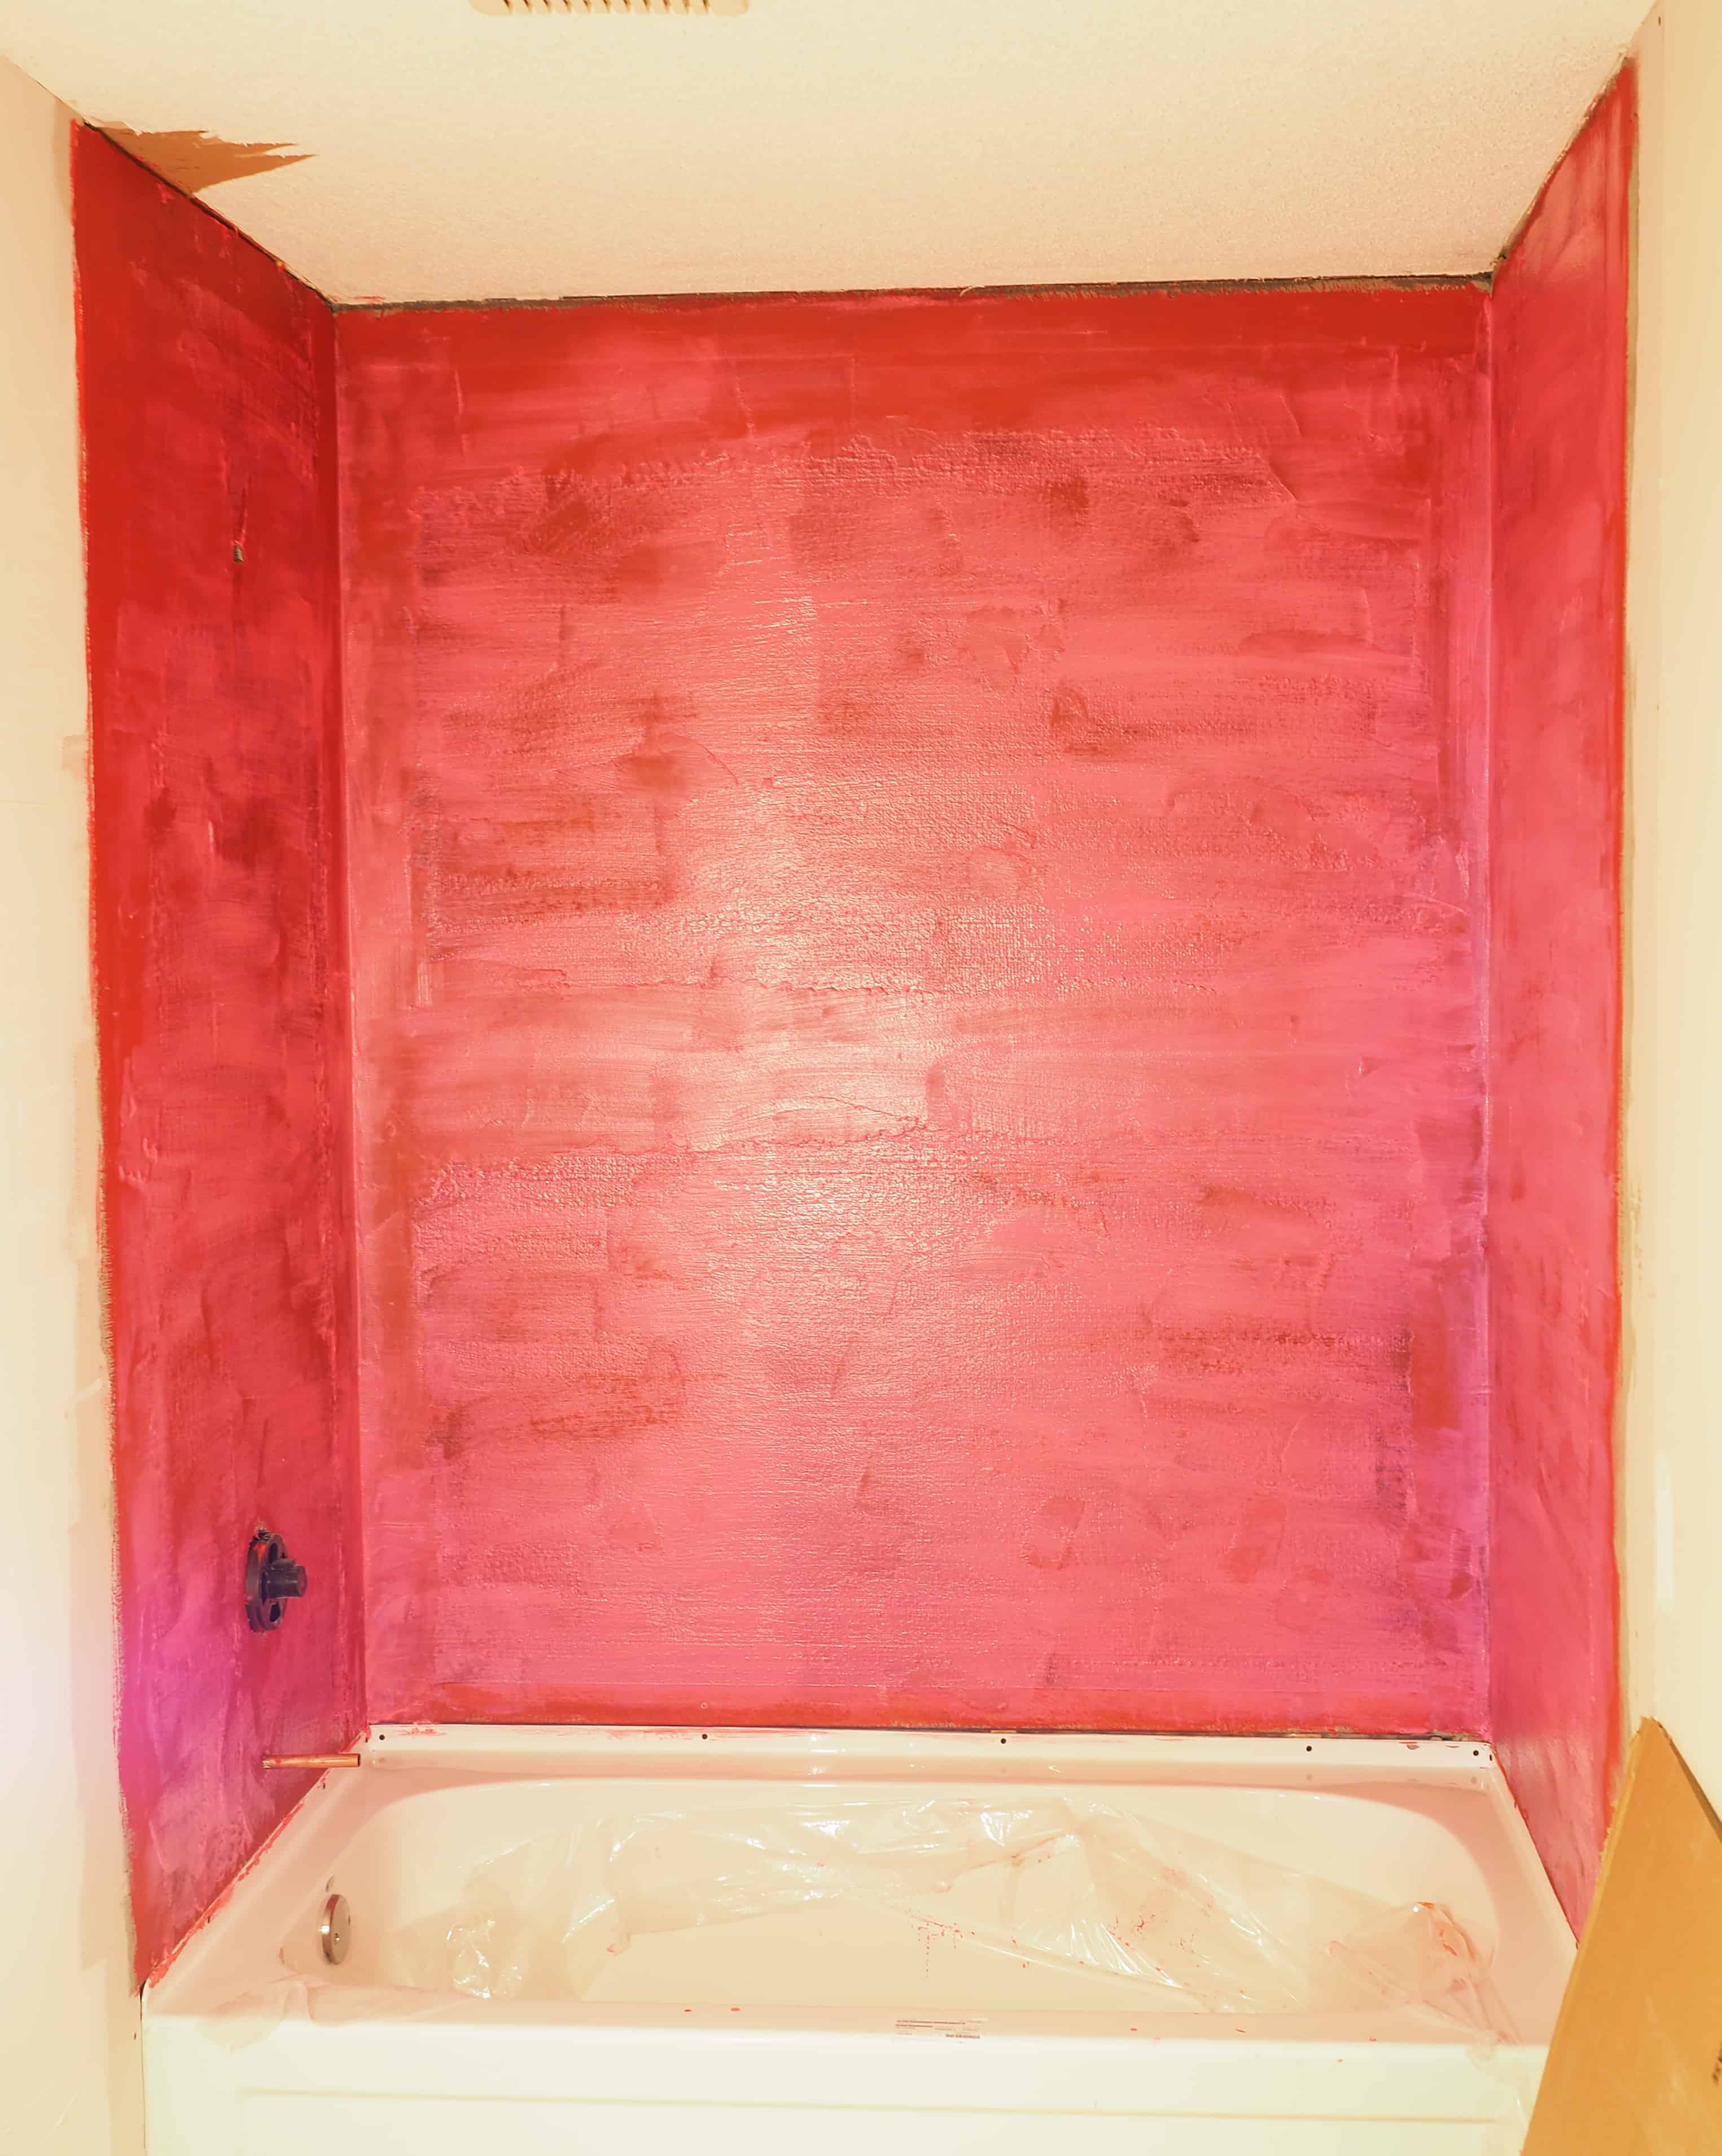
Up next was a quick coat of thinset over the cement board joints, which allows me to fill any larger seams prior to applying the liquid waterproofing membrane. For waterproofing, I chose RedGard. This is a product I have used several times before and when used properly ensures protection of your backing material. Just a quick note about waterproofing materials in general. If you are using them on an outside wall, make sure to slit your vapor to prevent a sandwich effect. By leaving your vapor barrier in tact and using a waterproofing/vapor proofing membrane you could wind up with problems in between. In the end, I applied 3 coats of RedGard on the walls which used essentially the entire 3.78 litre pail. One other note- the first coat was diluted 1/4 with water. Cement board loves to soak up moisture and this ensures the next 2 coats can dry properly without being completely absorbed by the cement board. Now, RedGard specifies only needing to apply 2 coats for most applications, however, a good practice is to continue applying coats until you can no longer see the black writing on your cement board. I should also mention that I don’t believe this is the place to pinch pennies and the cost provides some peace of mind once behind your tiles.
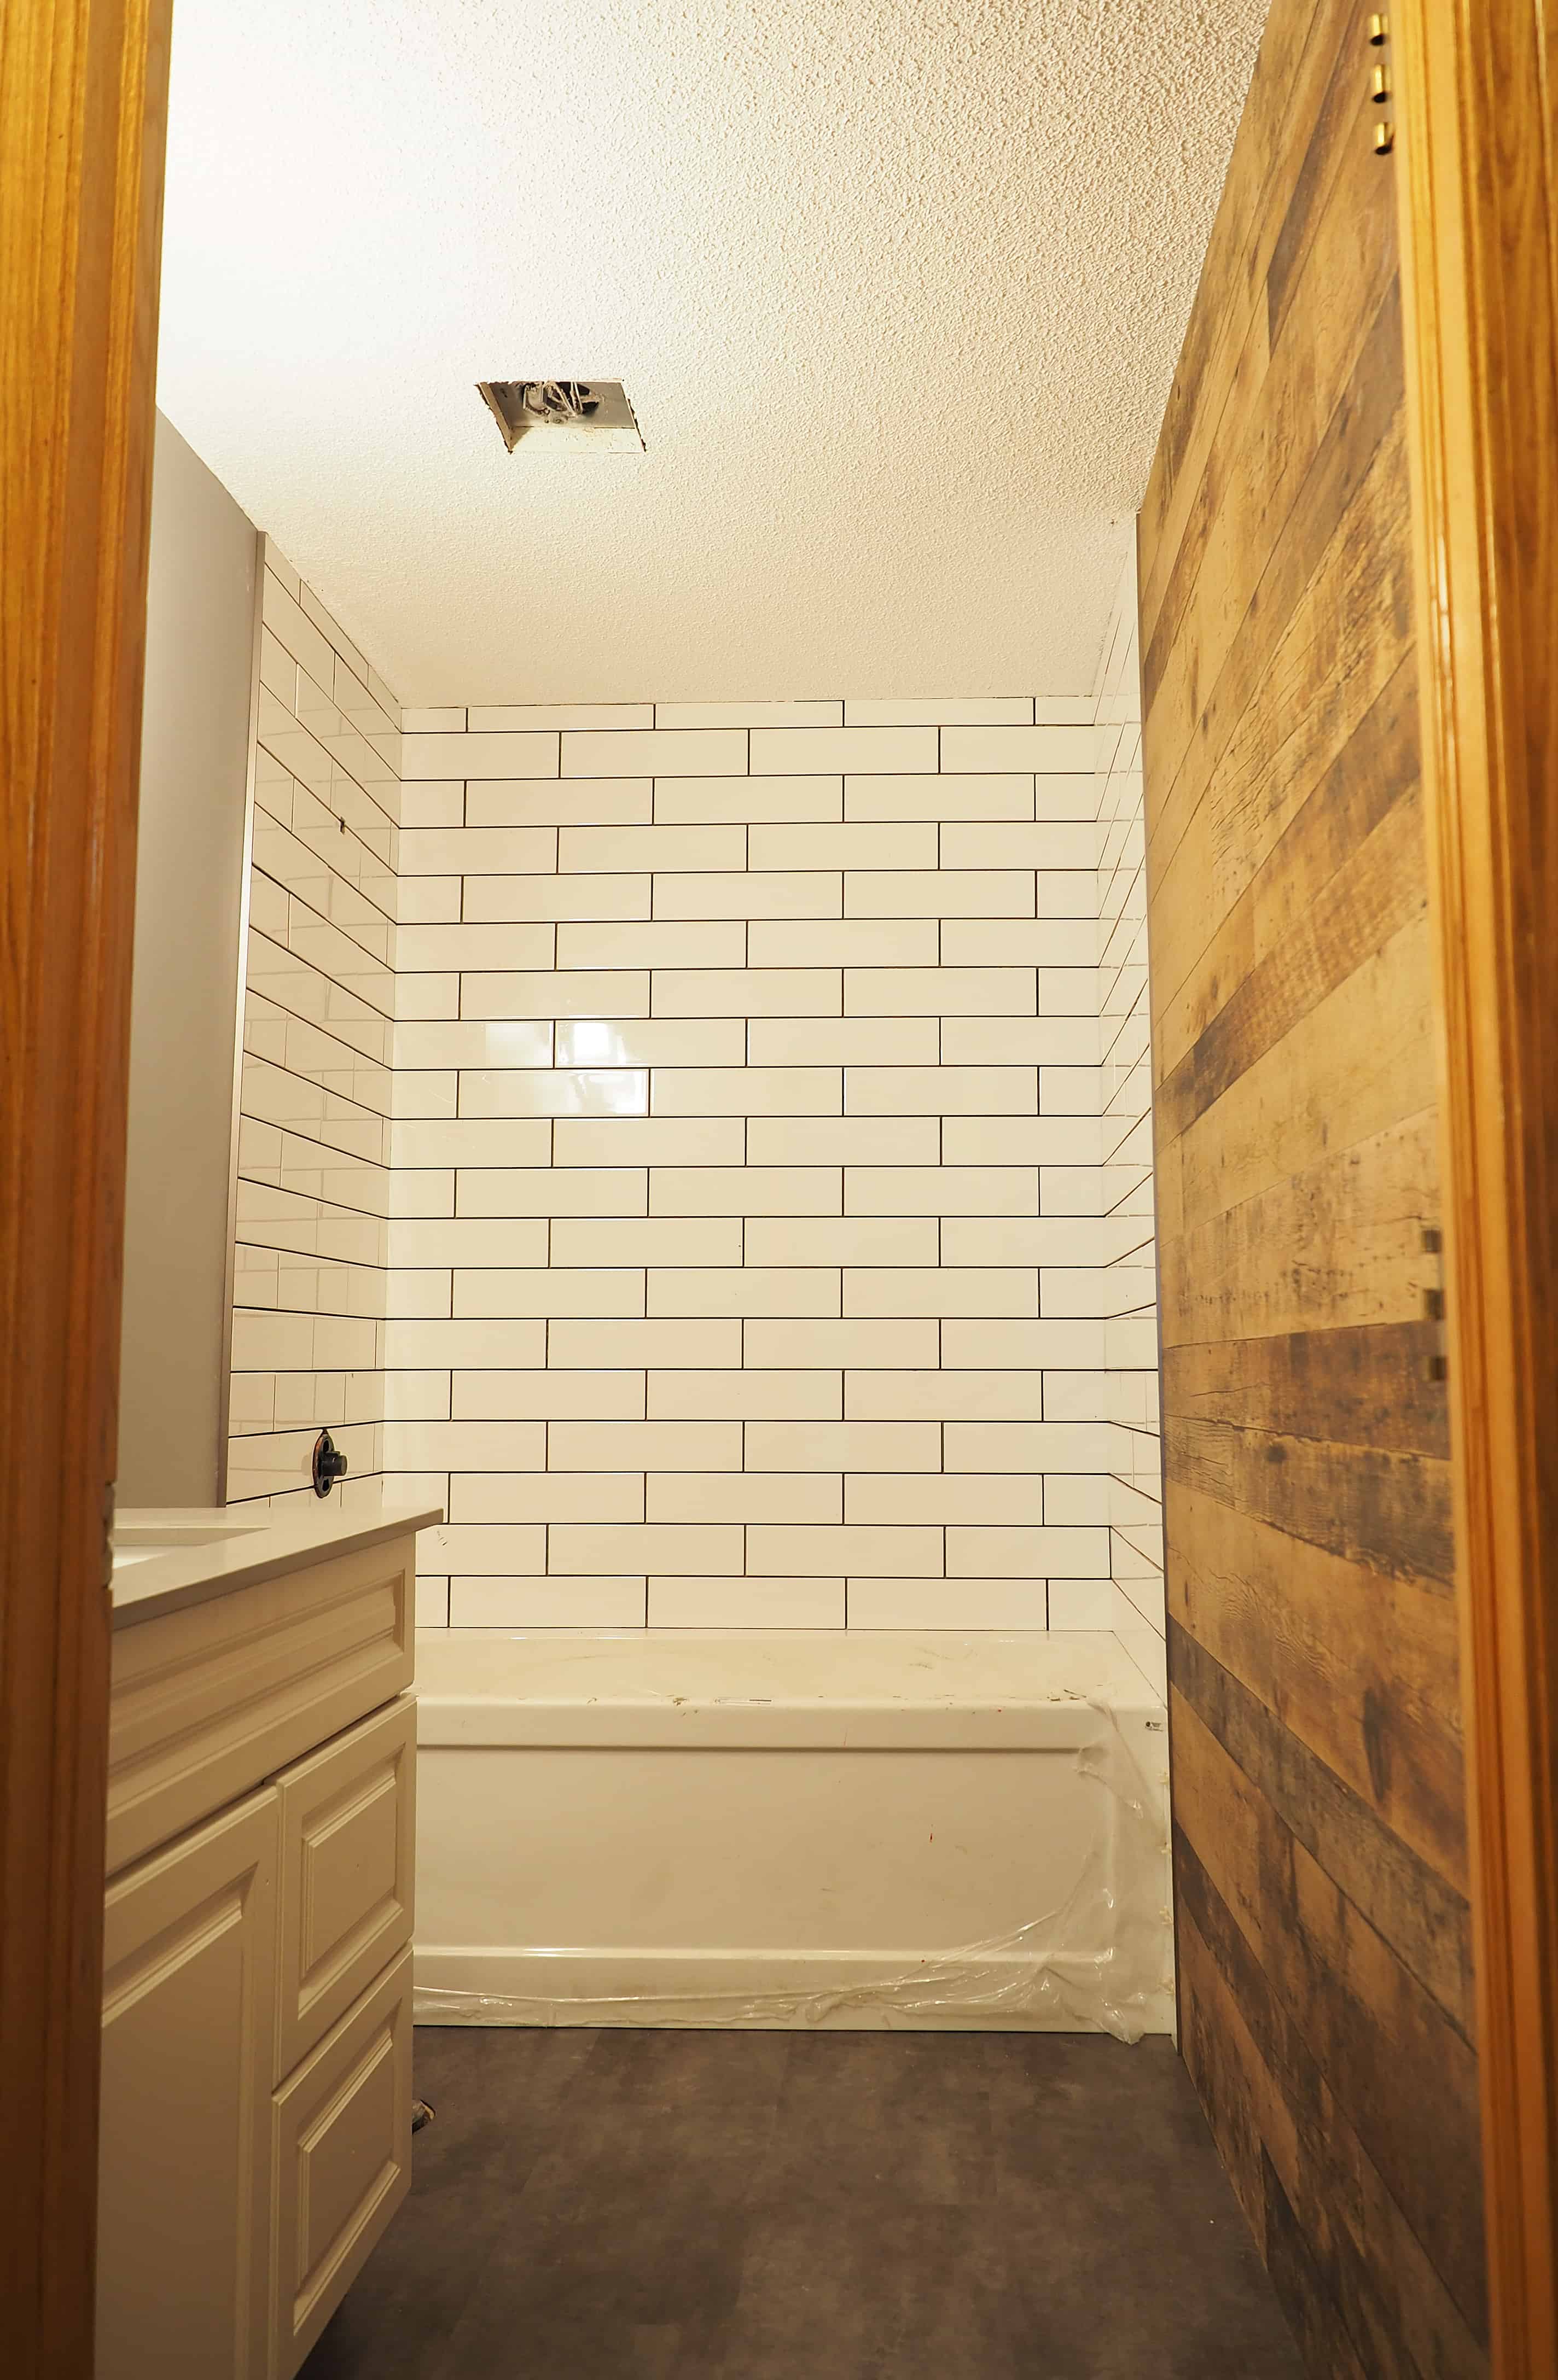
Finally it’s time to tile. Tiling is one of my favourite DIY projects- watching a project like this tiling take shape provides a great sense of fulfillment. Each tiling project always seems to have just the right amount of challenging cuts, tough patterns, or unique designs to keep it interesting. In this case, the pattern was fairly straight forward and there was no unique designs, but like all tubs, there are several tough cuts around the shower head, temperature controls, and tub faucet. For this project, we settled on oversized, glossy, white subway tiles in a brick pattern. The tile is the perfect size for a 60″ wall and when laid in the classic brick pattern, it gives a look that never goes out of style.
Learn more about how subway tile can work for your renovation
Normally at this point I would have given the thinset a day or two to cure and then started grouting. However, RedGard specifies the use of a modified thinset which requires oxygen in order to cure properly. Normally I would have tackled a project like this using a unmodified thinset (like Schluter suggests) since it is being used between a waterproofing membrane and ceramic tile. Because of this I decided to give it a few extra days to cure before grouting. In the meantime I was left with two options: 1) hang out, maybe grab a beer and watch it dry….not all that exciting, or 2) install the vanity and flooring. As good as the beer sounded after a day of tiling, I somehow still chose option 2.
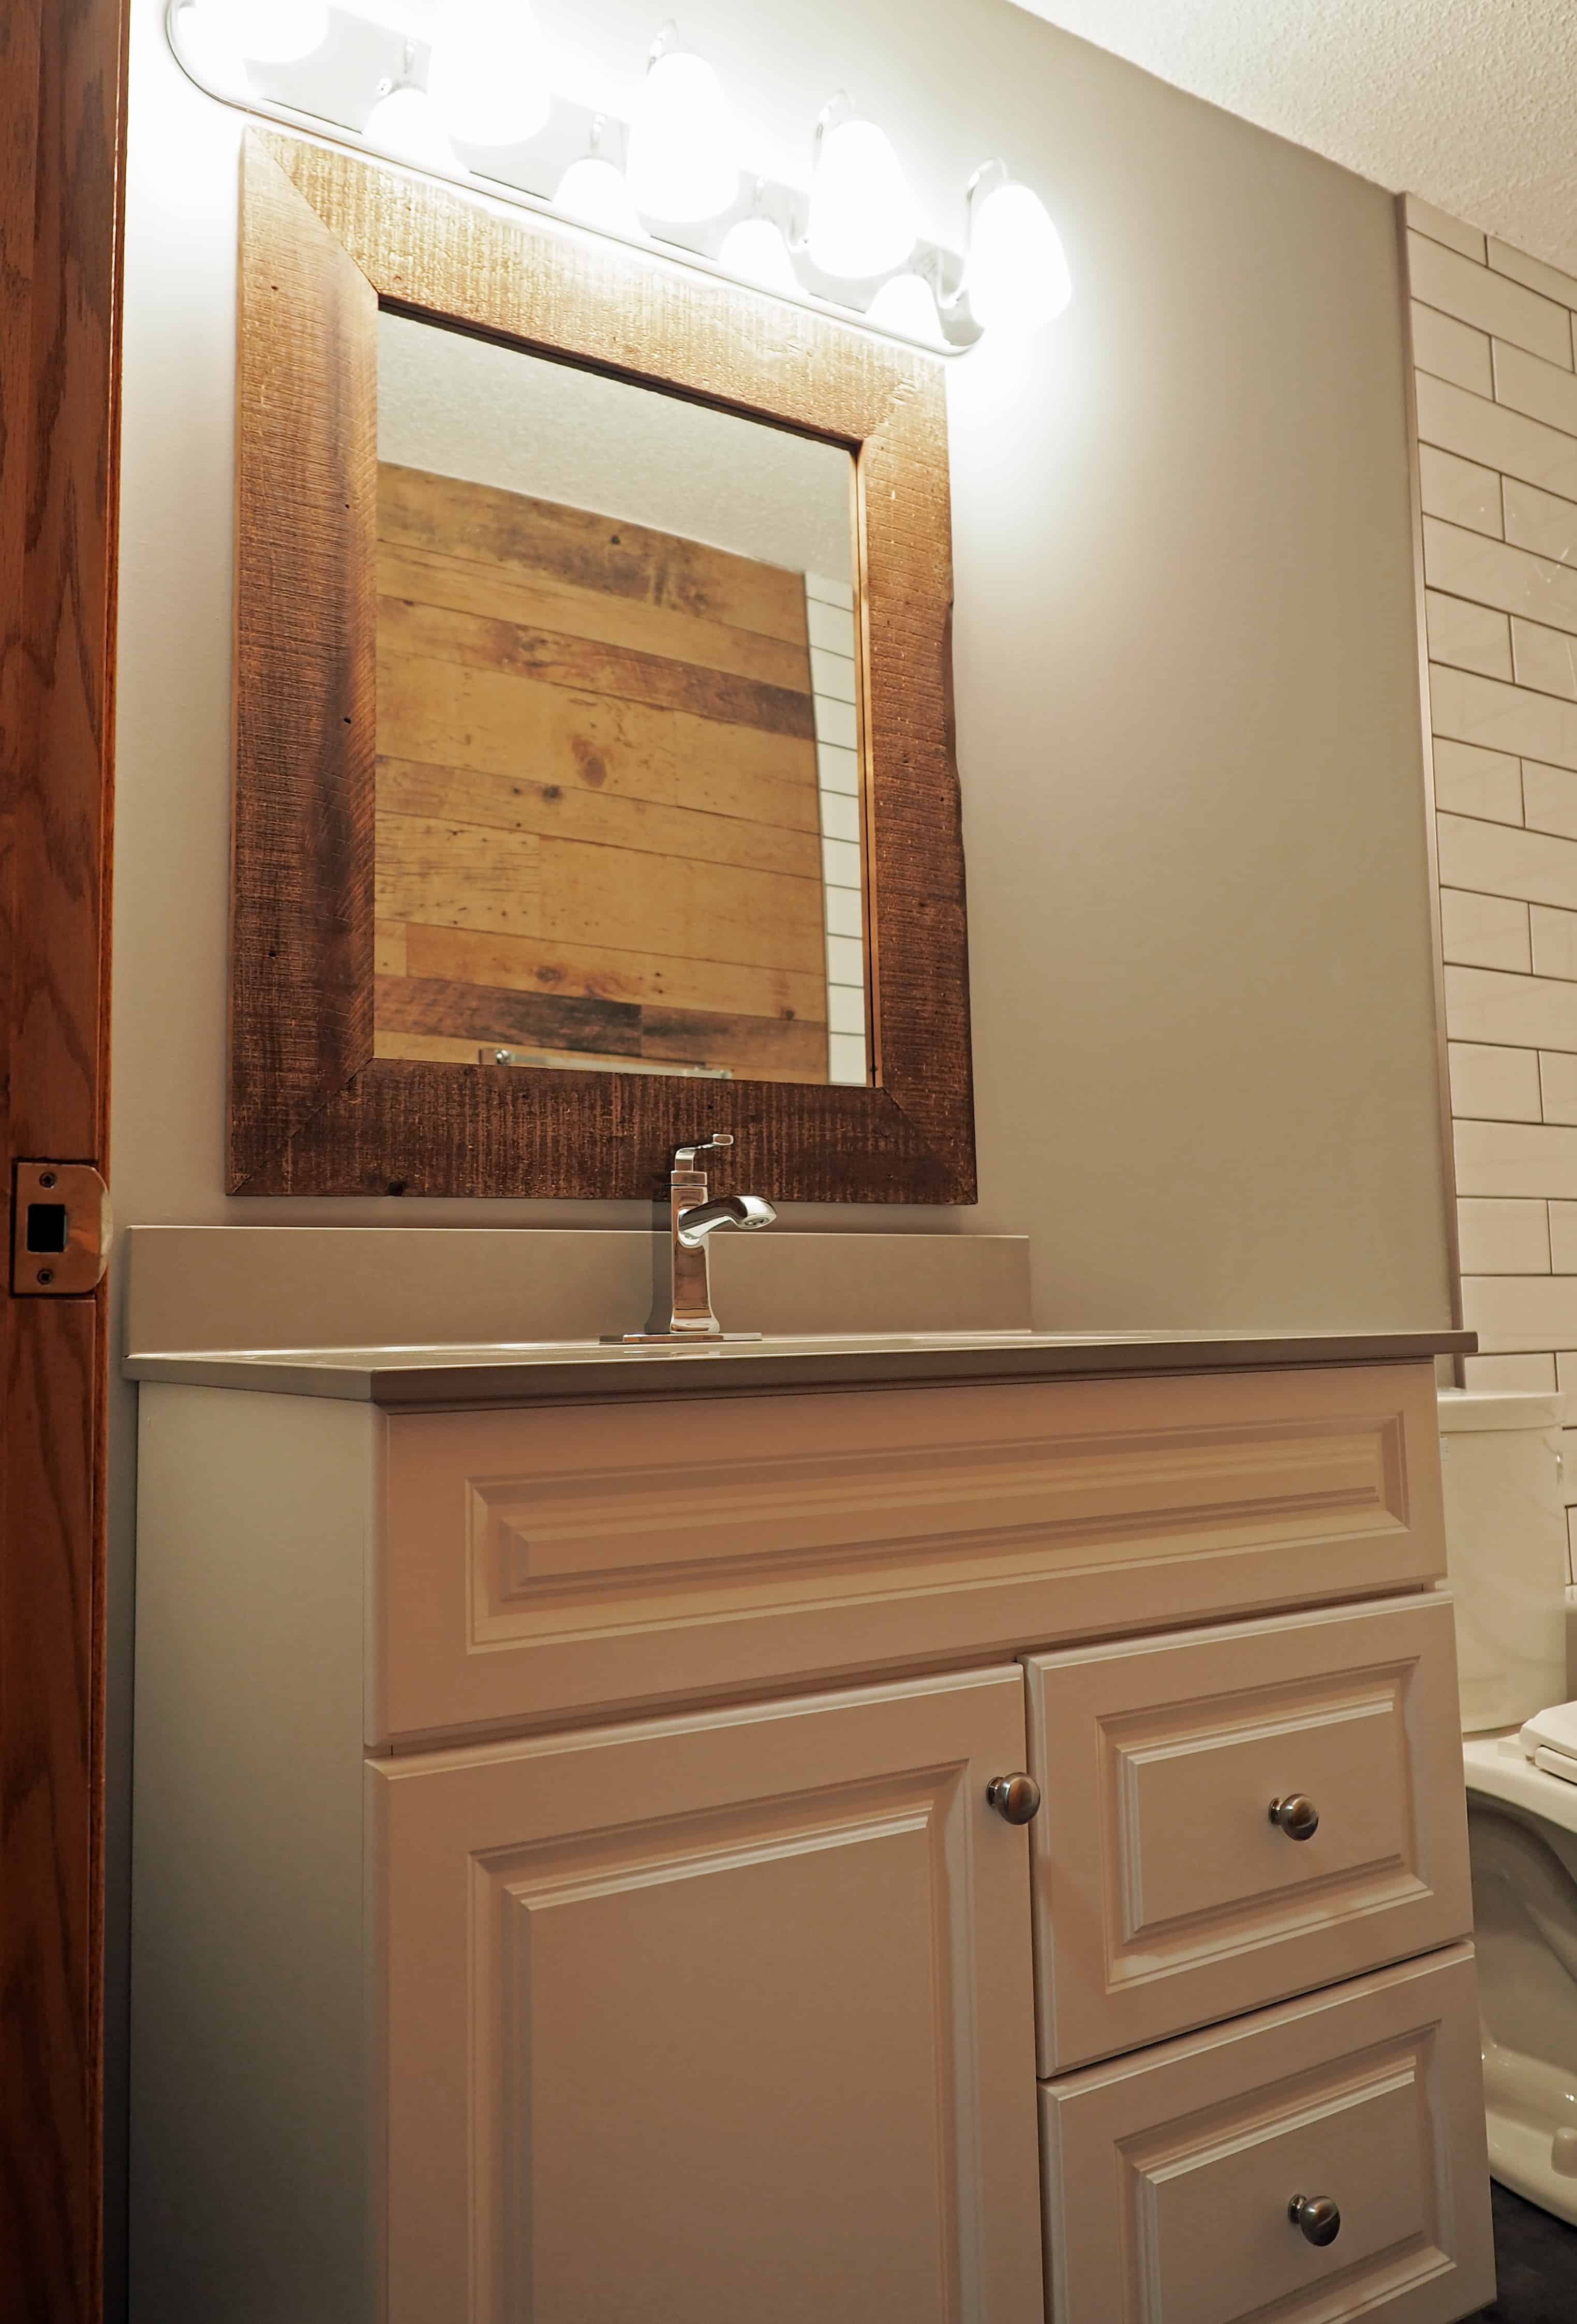
Now, I am curious if any of you have as much trouble as I do when it comes to shopping for vanities. Either the good ones are discontinued, the improper size, or vastly out of budget. Honestly how can manufacturers think their vanities are worth so much $$$? Needless to say, this project was no different. Every time we found something we liked, it failed to pass one of the aforementioned hurdles. Finally, after we had all but given up hope we stumbled upon a cabinet that fit the bill- simple, white, and the right size. It wasn’t perfect and it had no top or sink, but we were determined to make it work. Later that day, I ended up finding a quartz top with a porcelain under mount sink that just so happened to fit our cabinet. Finally, our luck seemed to be turning around.
Loaded on the truck, full of vim and vigor, we headed back to the house to install our new vanity. Installation went off without a hitch and our bathroom was one step closer to complete. To finish off this portion of the project, I installed a simple single handle handle faucet leaving the countertop feeling open and spacious.
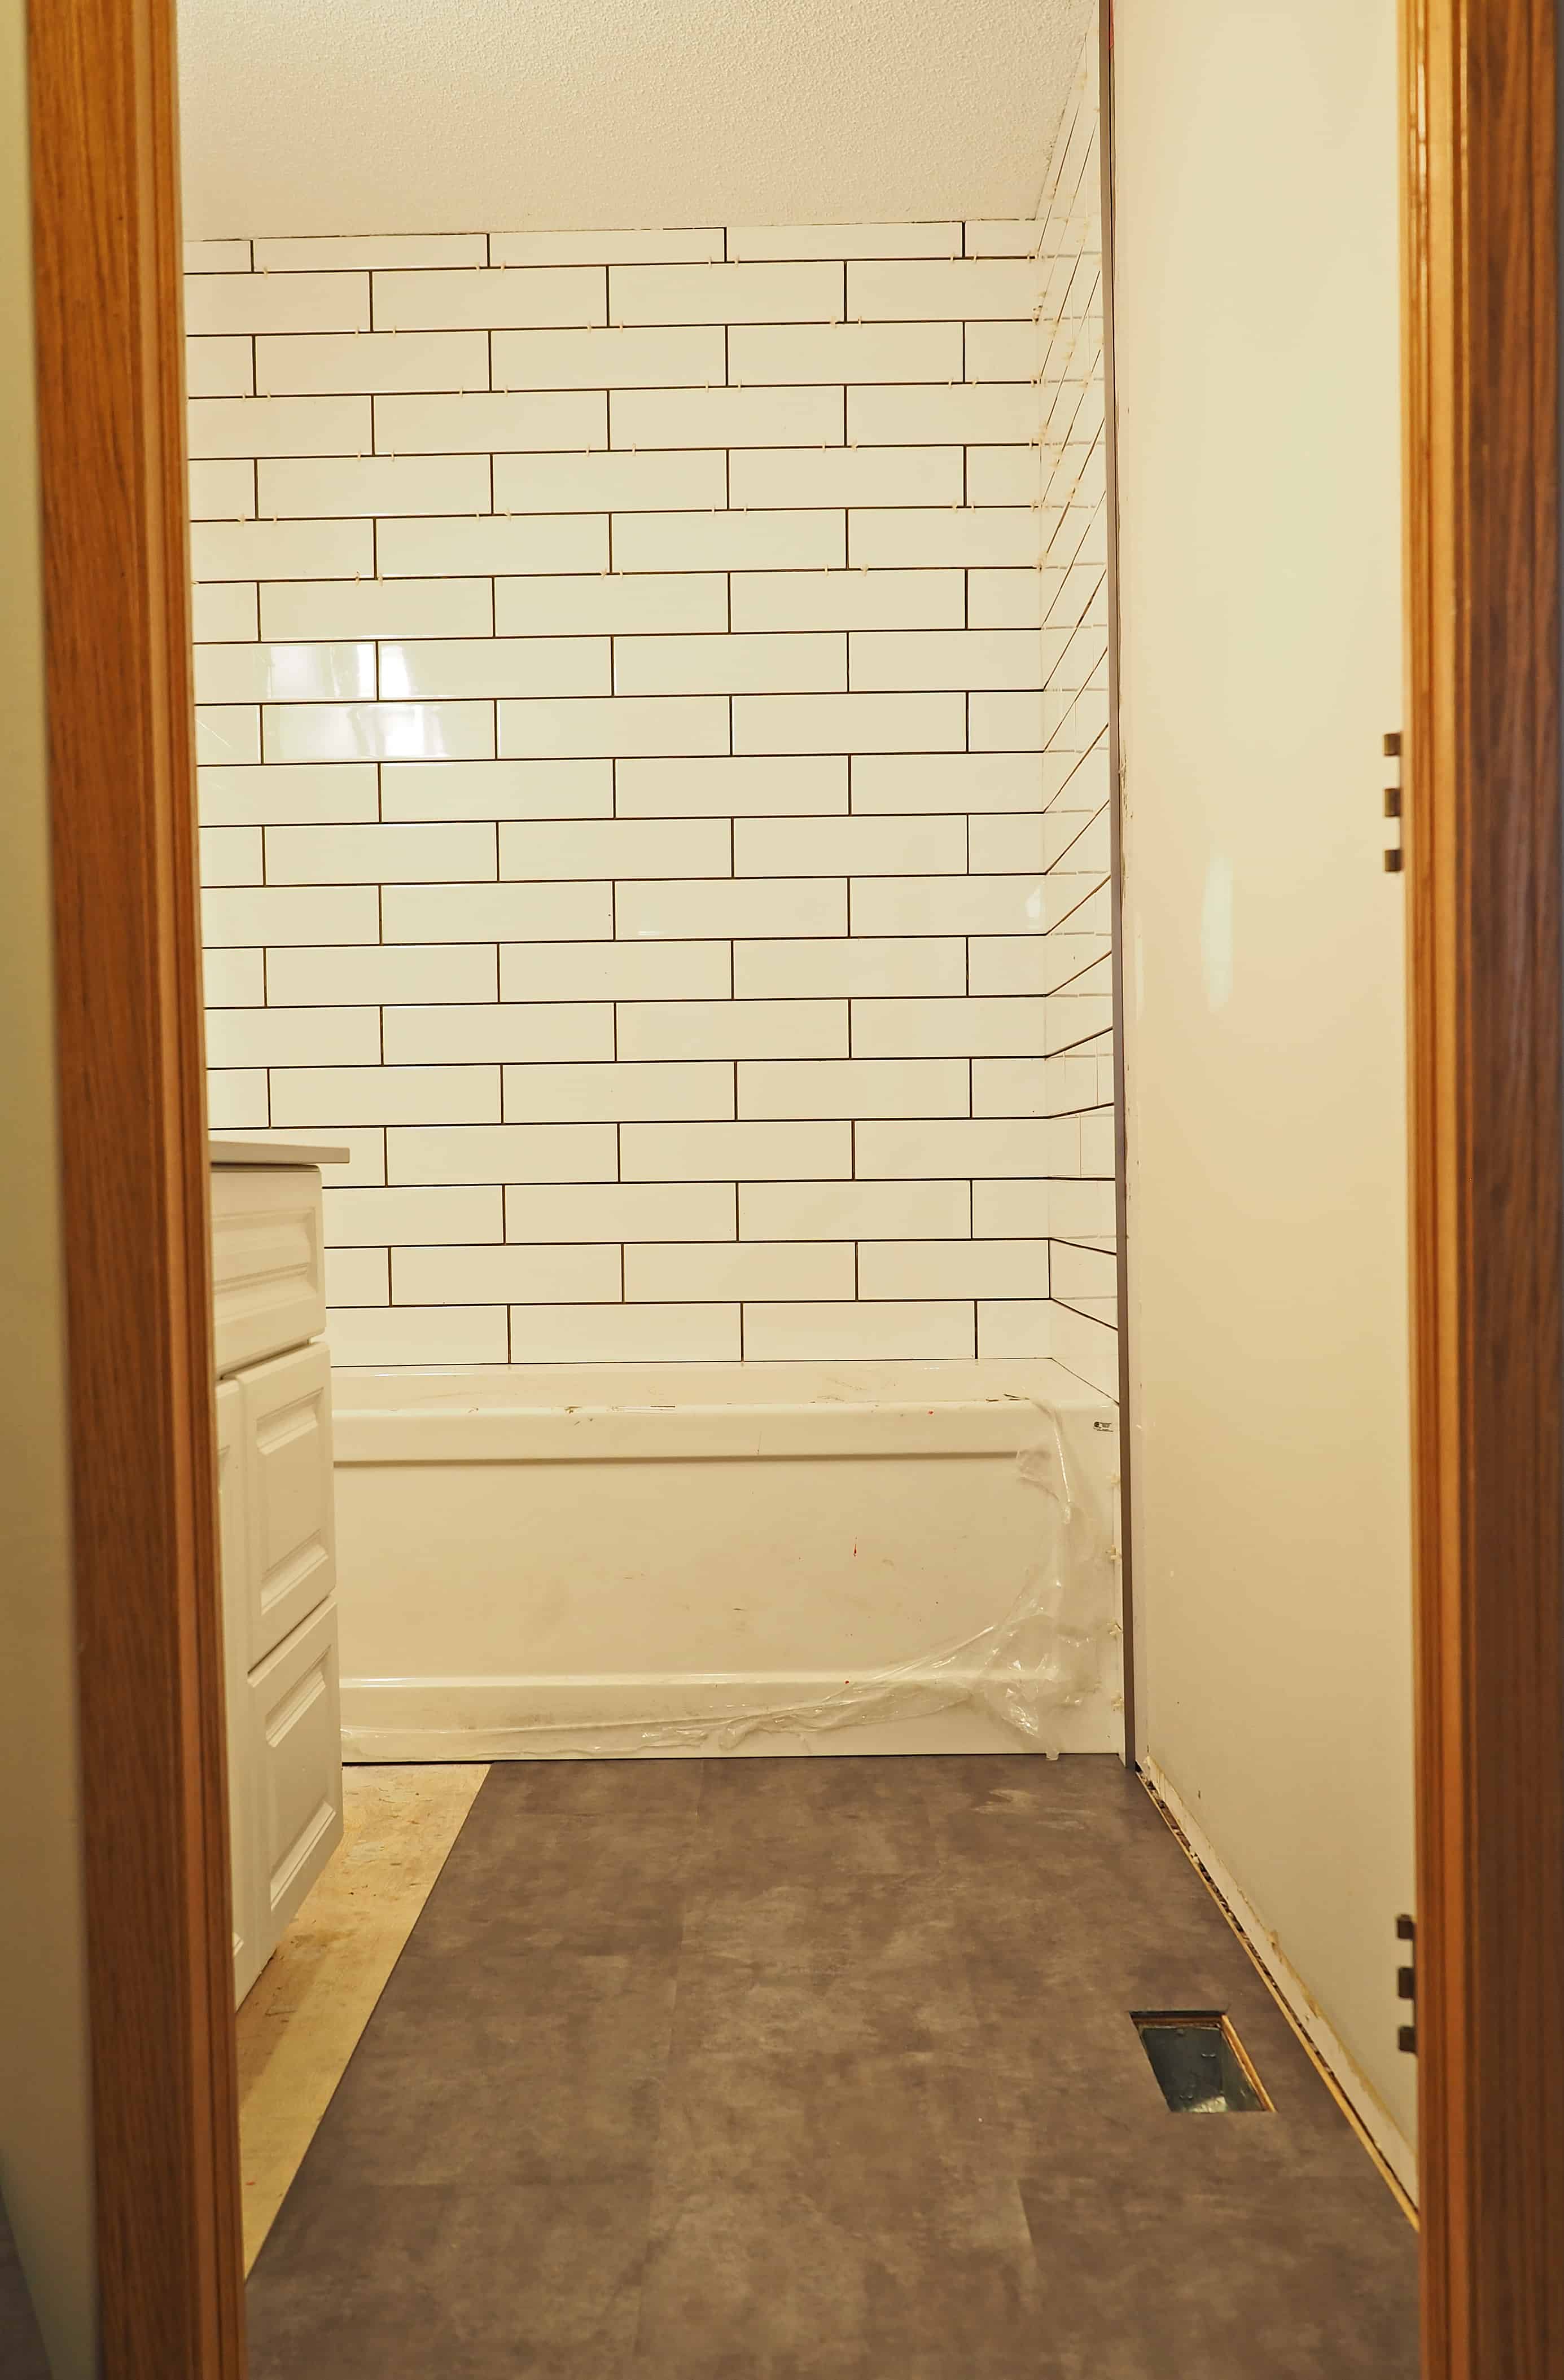
Next up was tackling the new flooring. For this bathroom we decided to go with an interlocking vinyl tile floor. They are completely waterproof, easy to install, and extremely durable. The vinyl tile we settled on was a mix of slate grey, light grey, and walnut brown- the perfect colours to pull our bathroom together (as you will see soon enough). Installation was a breeze and once again we took another step toward completion. This photo also shows what the finished tiling looks like:
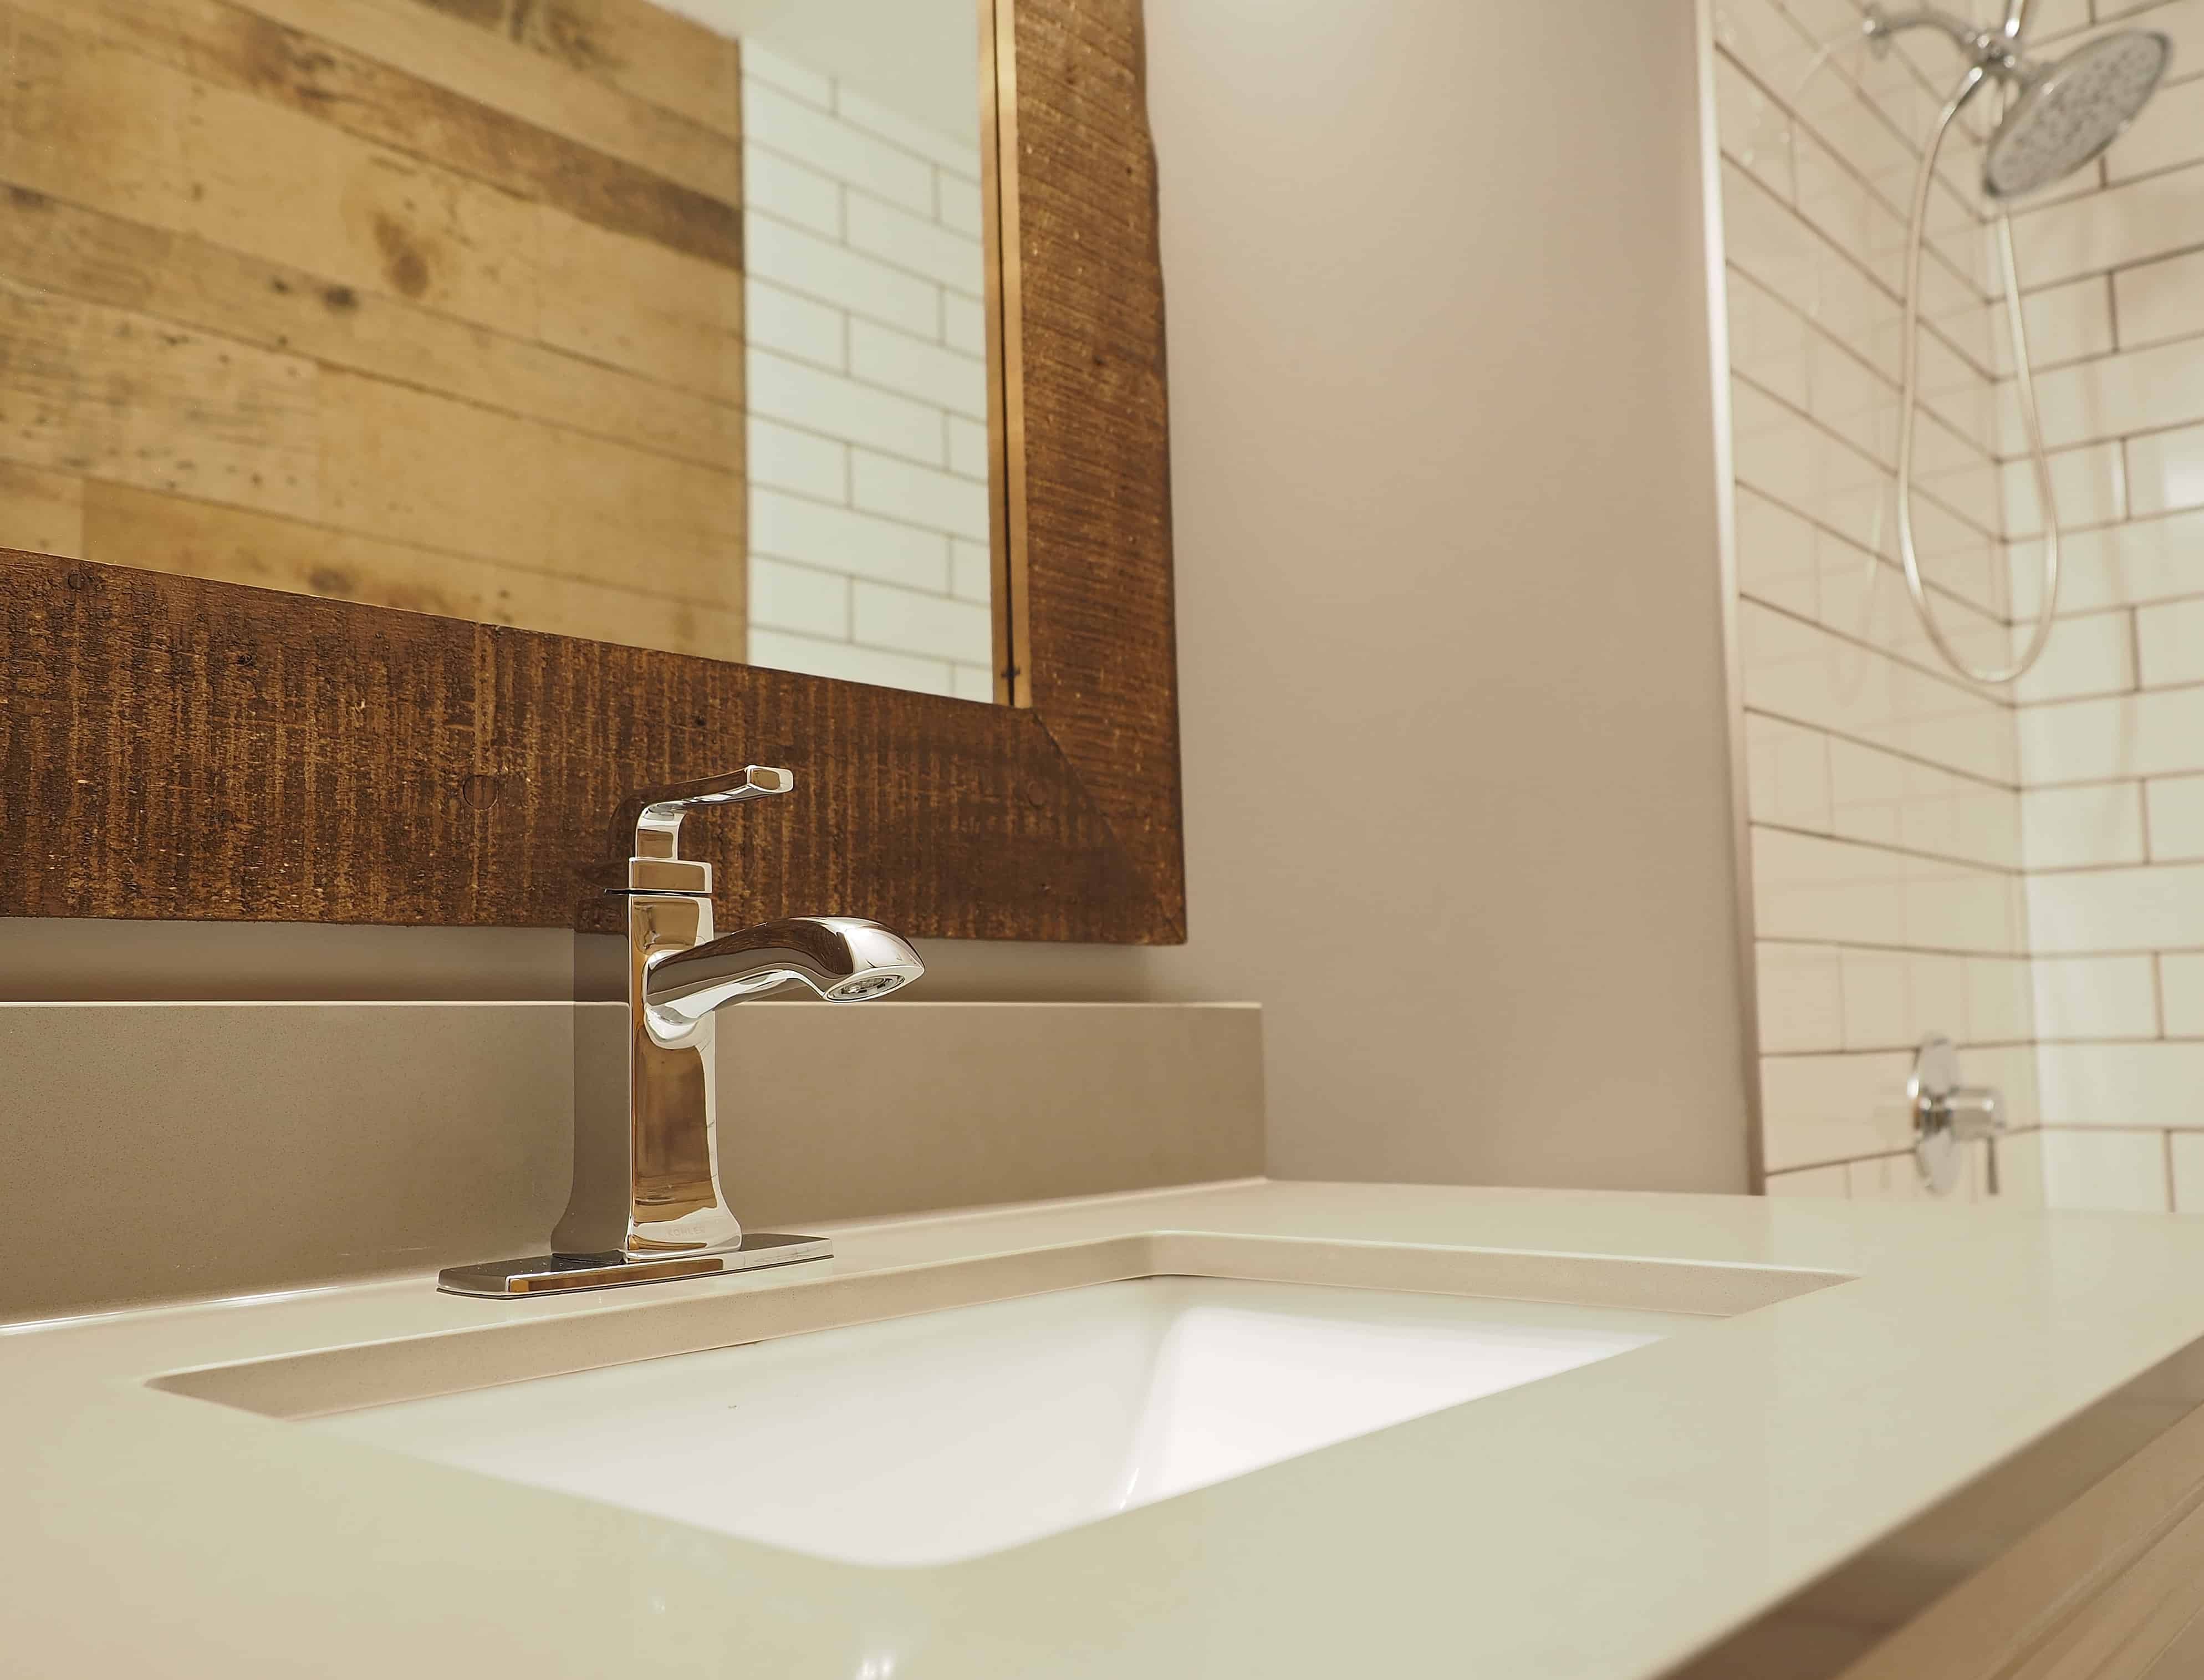
It was at this point we were starting to feel as though the room looked a little sterile. It felt cold and lacked an inviting feel when you entered. The square lines and myriad of grey tones did not help either. These are often best contrasted using wood, and the wall opposite the vanity and toilet was a perfect candidate for a wood feature wall. So that is exactly what we did.
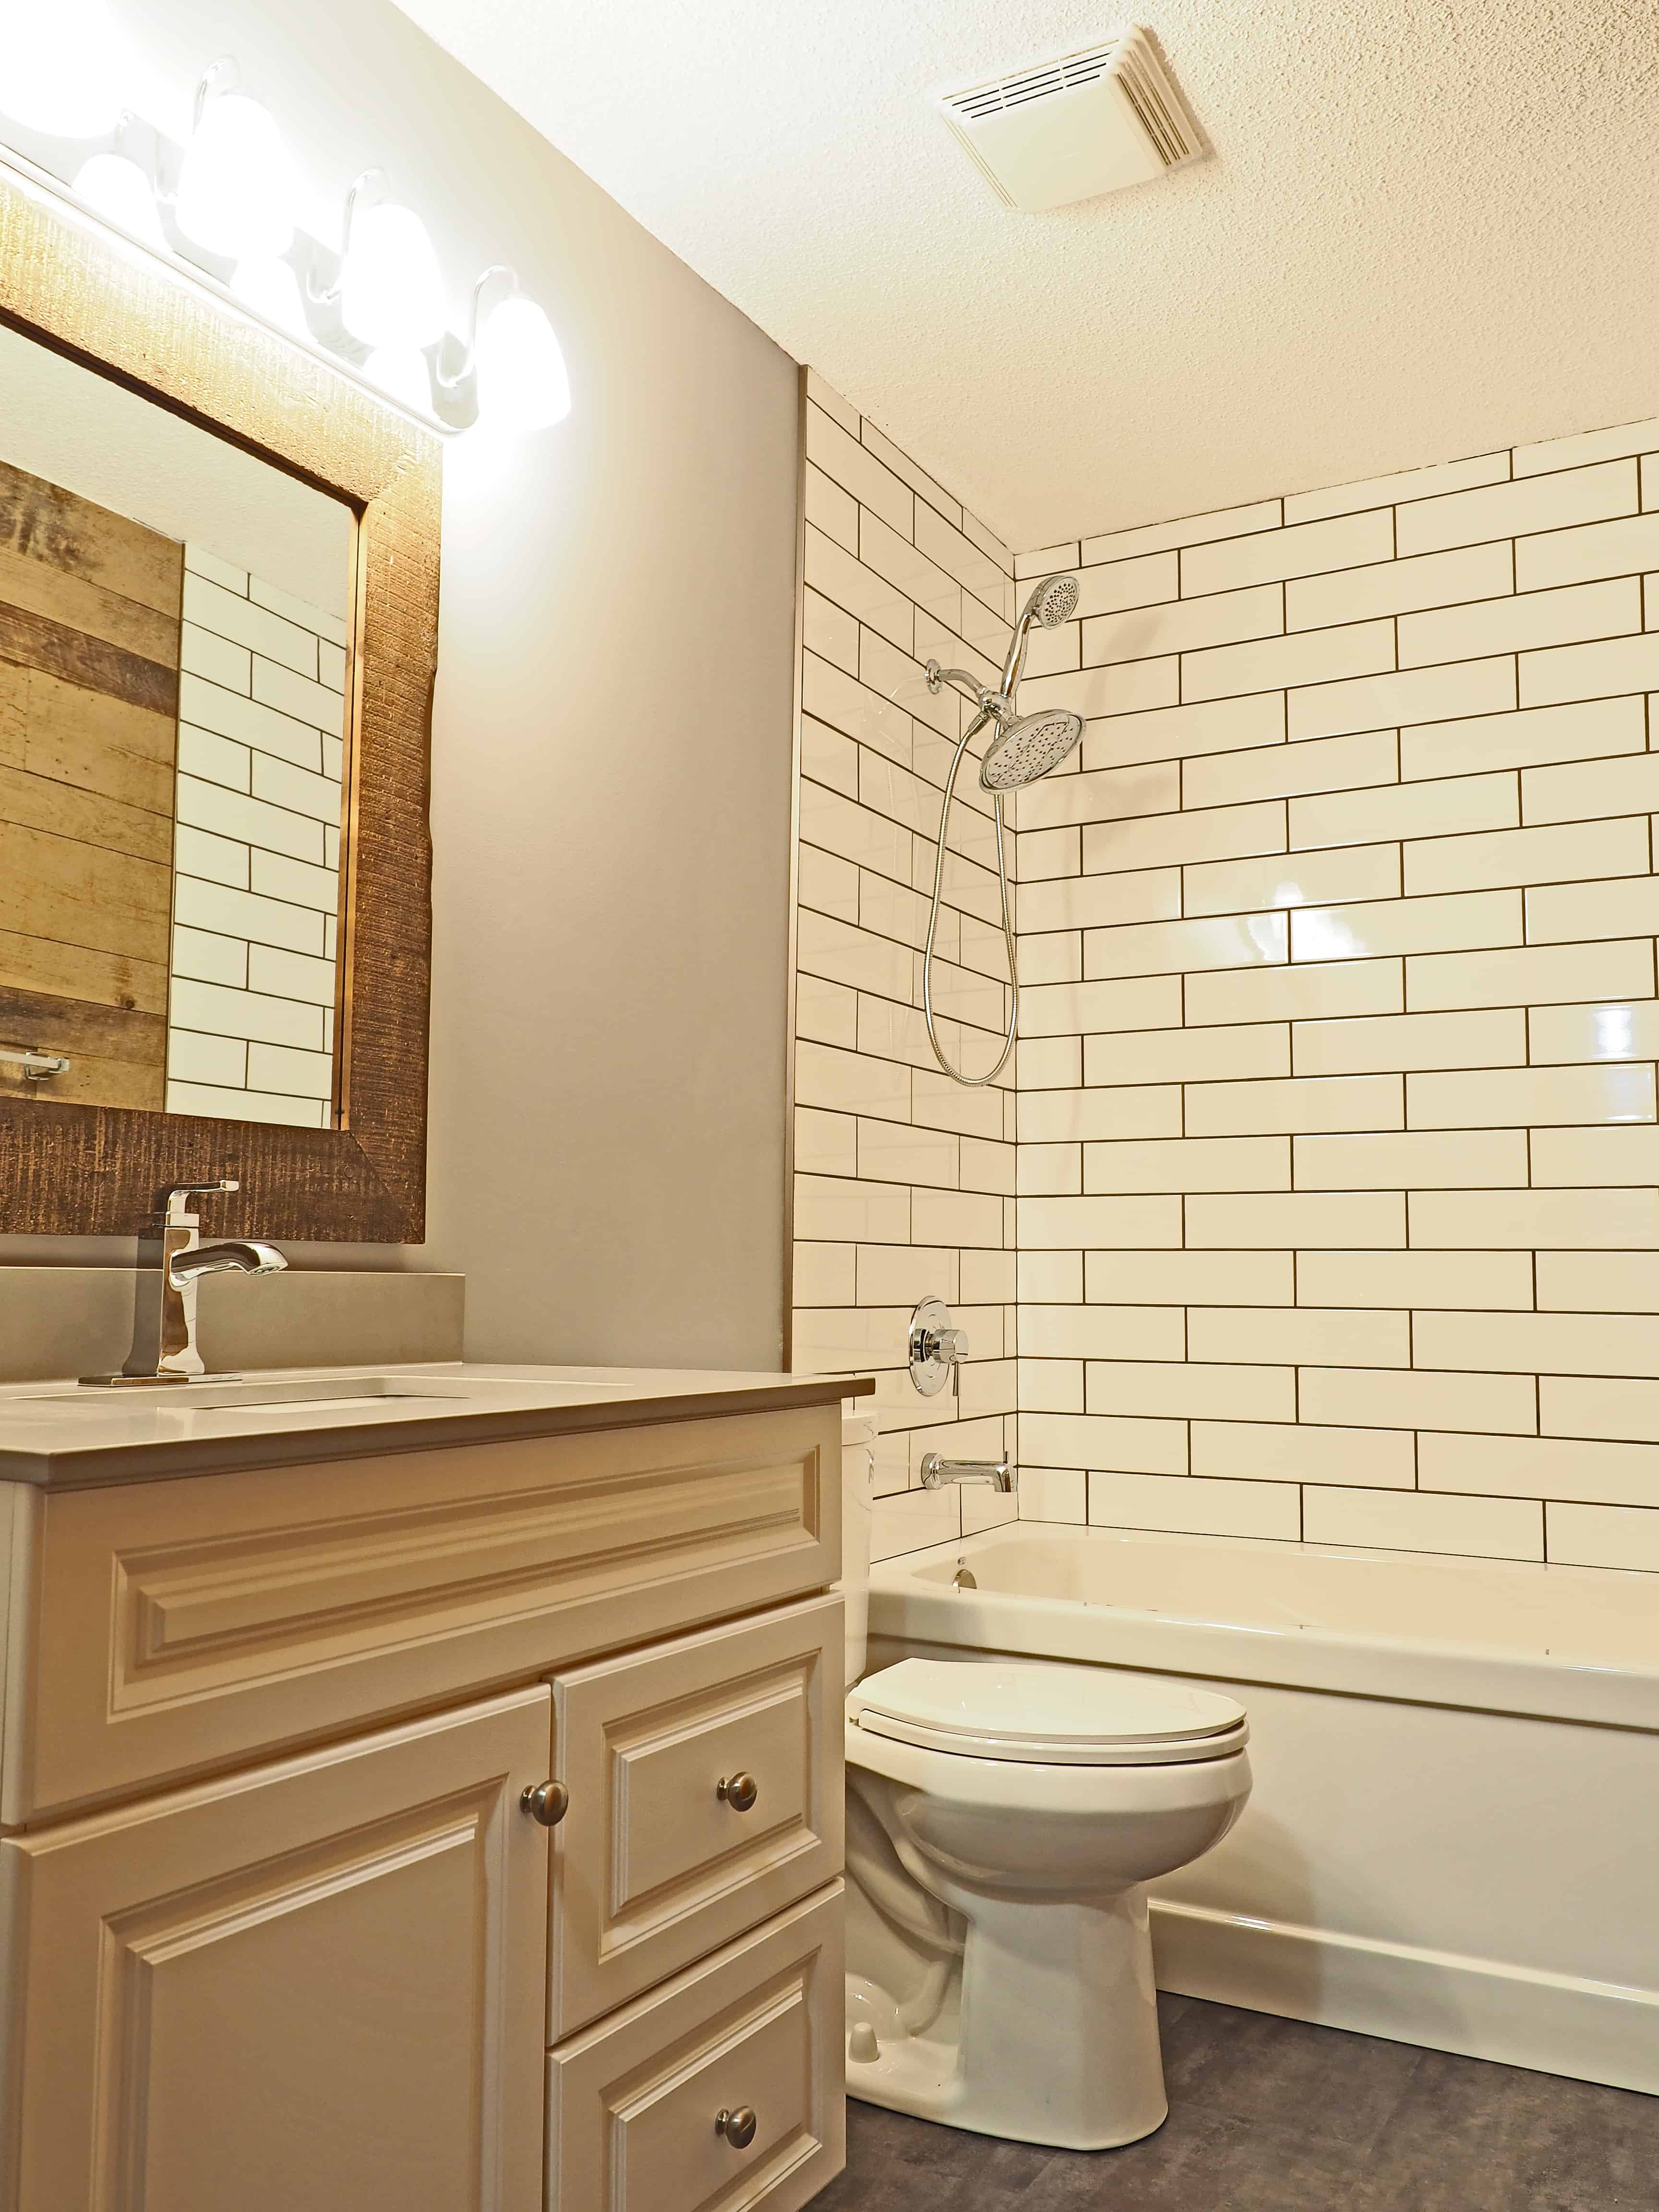
We were finally nearing the completion of our first room at The Beige Bungalow. It was time for the finishing details. We opted for a large shower head with handheld head combo. Anyone who’s had a handheld shower head in their tub knows how handy they can be for cleaning, or even washing kids or pets. Although you can’t see them in the photo below, we finished by installing a simple towel and toilet paper bar to give the room a completed look.
We finally had a finished room. As we all know, no room is ever completely finished. In this case some art work will still need to be hung, a shelf or two installed above the toilet, and we may tinker with the baseboard on the wood feature wall- not really sure it looks quite right as it currently sits. Potentially an old barn board instead?
For now, I hope you have enjoyed the journey as much as I have through this project. Stay tuned for the next post and join our community if you have not already. The best is yet to come!
No Comments