Get ready for some inspiration! There is no master bathroom at Hilltop, so the main bathroom renovation needed to be a home run.
Even though it is a standard tub/shower combination, I wanted it to be swanky and elegant. And let’s be honest, why can’t a regular bathroom be just that?
Remember the old bathroom? The plastic tub surround, sliding shower doors, leaking toilet, rotten vanity, and that tile floor. I think it might have been the same ceramic tile used in every mall bathroom…not exactly a comparison one wants. Or maybe my electricians favourite- the fan switch that was next to the shower. Convenient, sure. Safe, not a chance.
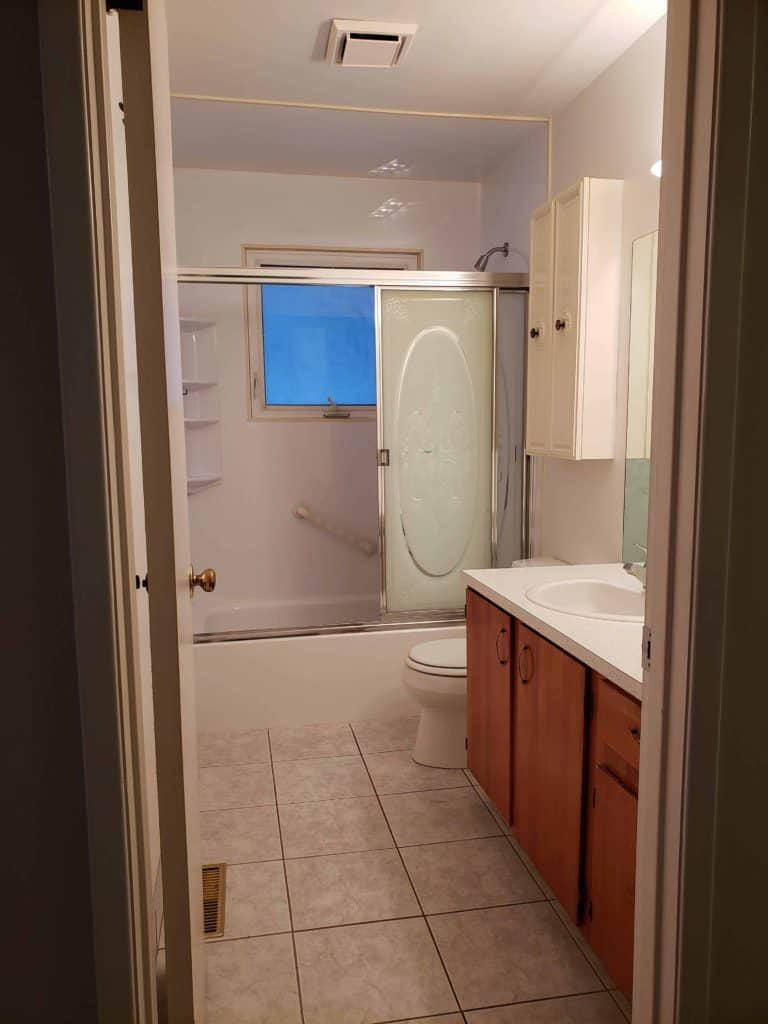
Everything was completely gutted to get ready for this bathroom renovation. The only salvaged piece was that funky metal medicine cabinet above the toilet. A thorough clean and a new coat of paint and it could be something really cool- just not in this bathroom.
The bathroom renovation plan
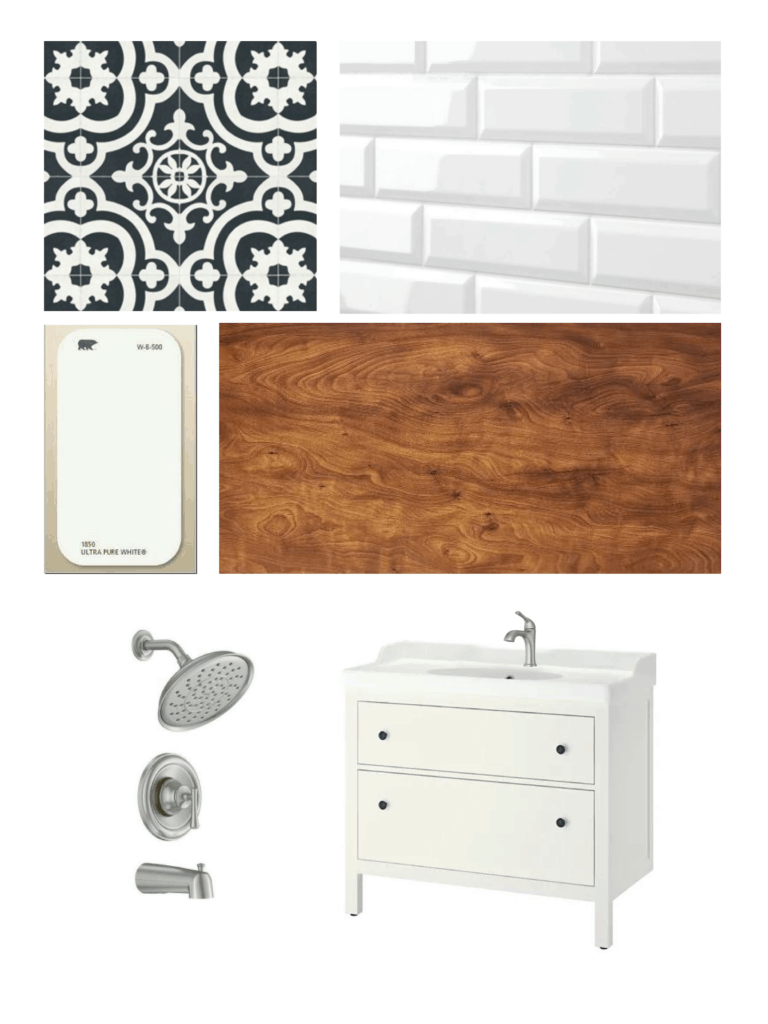
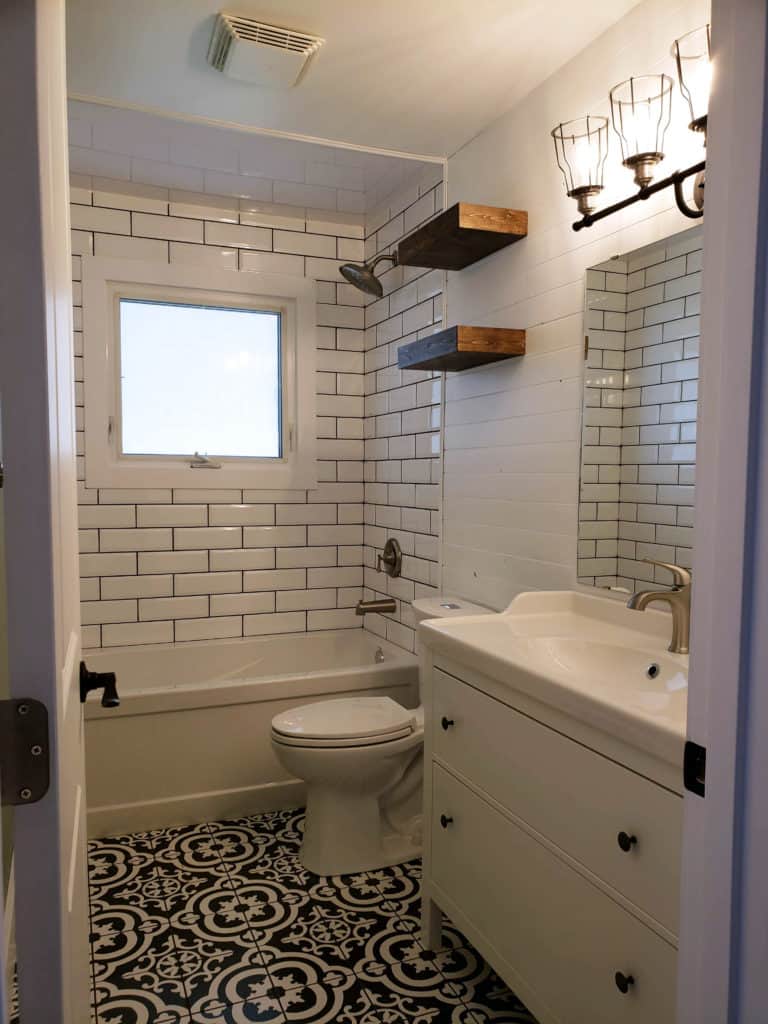
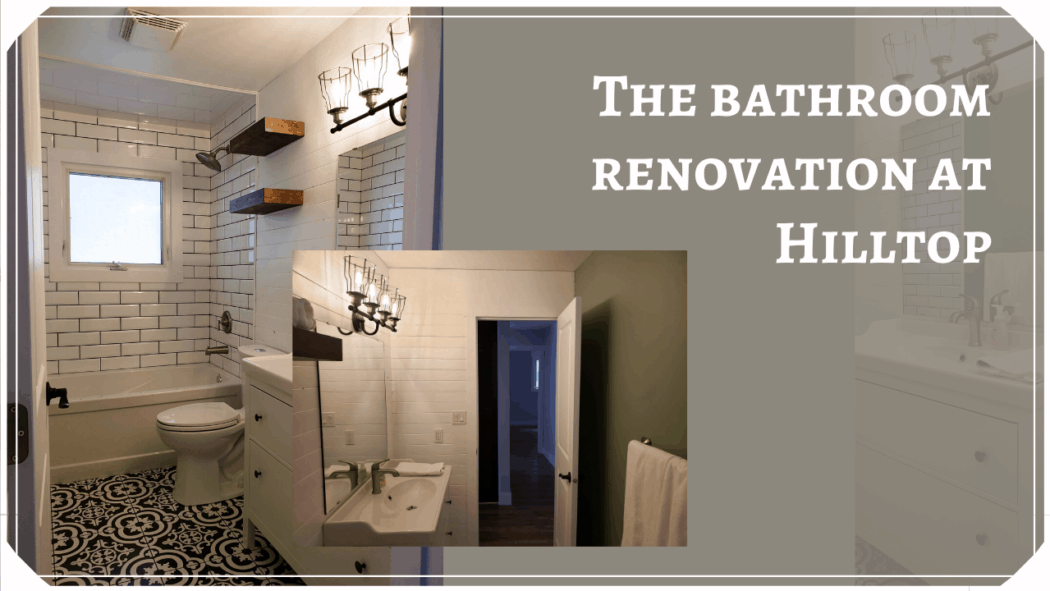
The goal for this bathroom renovation was to stick with the design of the rest of the house, mainly black and white with some wood tones to warm it all up.
The best part of this bathroom was the layout. Nothing needed relocating which saved us a stack of cash. Moving plumbing can be one of the most costly parts of a bathroom renovation.
I stumbled across this amazing black and white ceramic tile at Lowes, which became the center point for the entire bathroom renovation. In order to let the floor tile be the piece-de-resistance, I went with simple subway tile for the tub surround.
READ: Everything you ever wanted to know about subway tiles
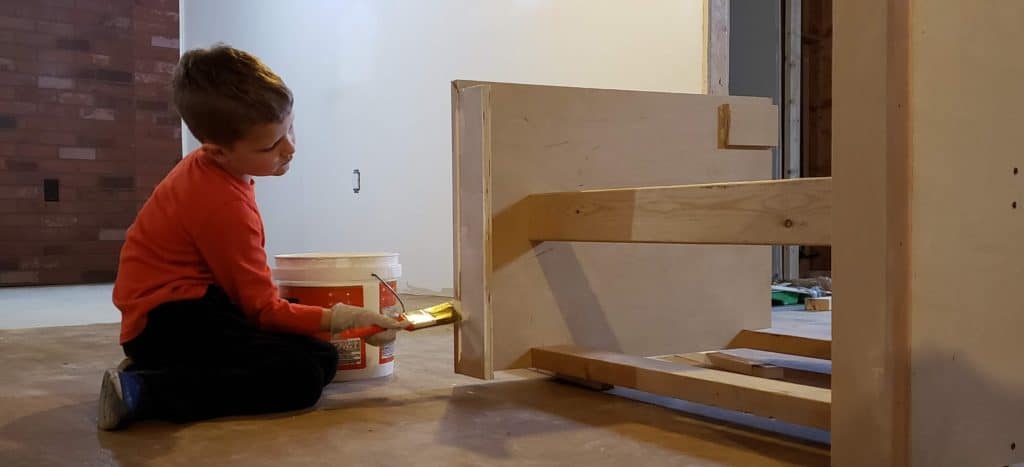
I chose a vanity and faucets with farmhouse flair for continuity with the rest of the house, and built floating wood shelves identical to those found in the kitchen.
Demo Day
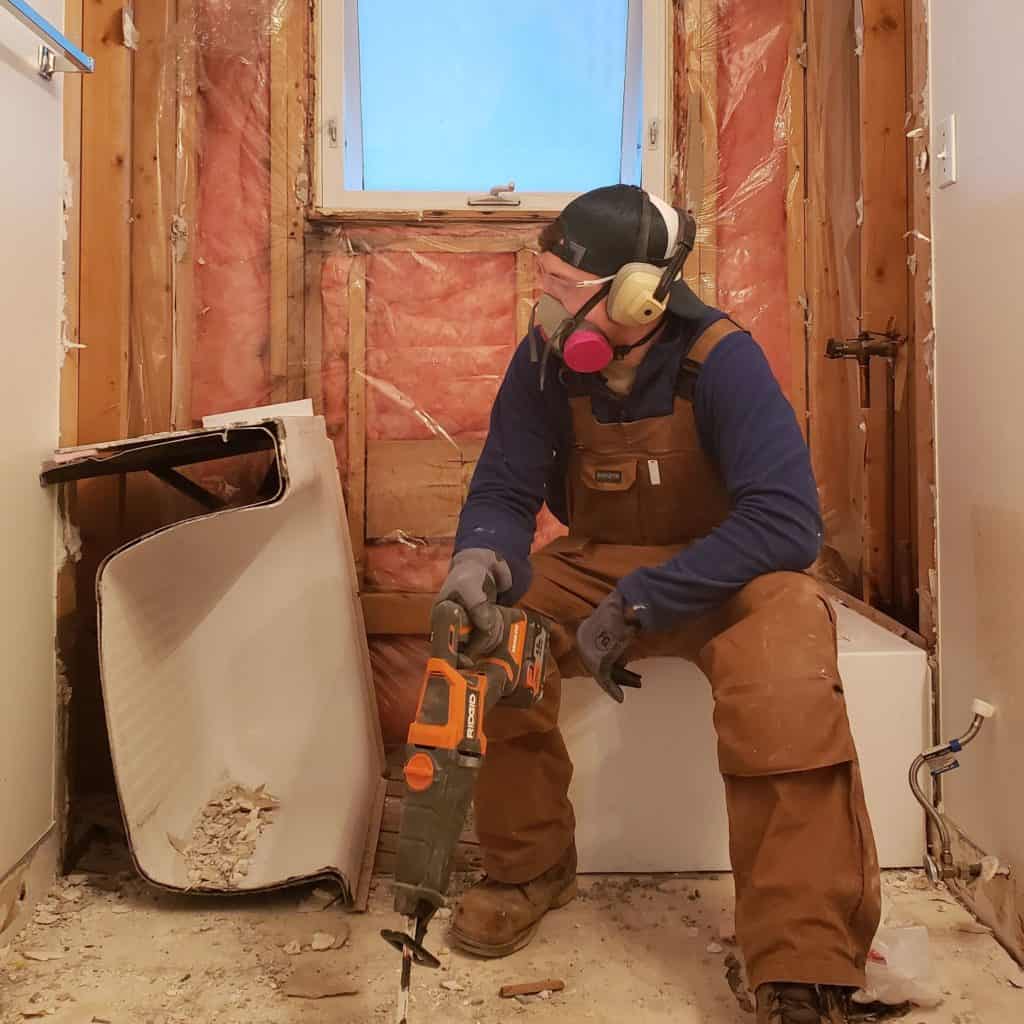
Demo went off without a hitch, mostly. The original steel tub did not want to come out in a single piece, but that’s what reciprocating saws are for.
However, we did find the drywall behind the vanity mirror to be in seriously rough shape. Solution- use the drywall as a backer for new shiplap to add some more character. We could have just replaced the drywall, in fact it would have been cheaper. But a white shiplap feature wall would pair awesome with our black and white floor tiles.
5 things to consider before a bathroom renovation
1) How much is the full renovation going to cost?
This is a question nearly everyone has before starting. First off, are you planning to hire a contractor, or complete the work yourself. Even if you are planning to complete the majority of the work yourself, consider hiring a plumber and electrician to tackle the mechanicals.
Make yourself a thorough budget. The main items to include are:
- Mechanicals (plumbing and electrical)
- Tub
- Backerboard + Wall tile (tub surround)
- Flooring (If choosing tile, think about the extras such as uncoupling membrane, thinset, and grout)
- Vanity
- Toilet
- Faucets (sink and tub)
- Paint + extras (this can include everything from trim to wallpaper)
Measure out the square footage of your bathroom and spend a few weeks designing and planning the bathroom. Sites like Pinterest are fantastic sources of inspiration. Then head out to the store(s) and get an idea of what each item will cost.
At Hilltop, we were able to complete the main bathroom renovation for under $2000. Seems crazy right? But if you keep an eye on sales and spend wisely, it can be done. Don’t rule out places like the ReStore, or anywhere that sells left over material. Sometimes they carry enough square feet of tile to get a project done.
The key- don’t skimp on the foundation elements even if you can’t see them. Just because a bathroom renovation can be finished relatively inexpensively, doesn’t mean it should be done cheap. At Hilltop, the tub surround was coated with Redguard waterproofing and crack prevention membrane, and we included ditra uncoupling membrane under the tile floor.
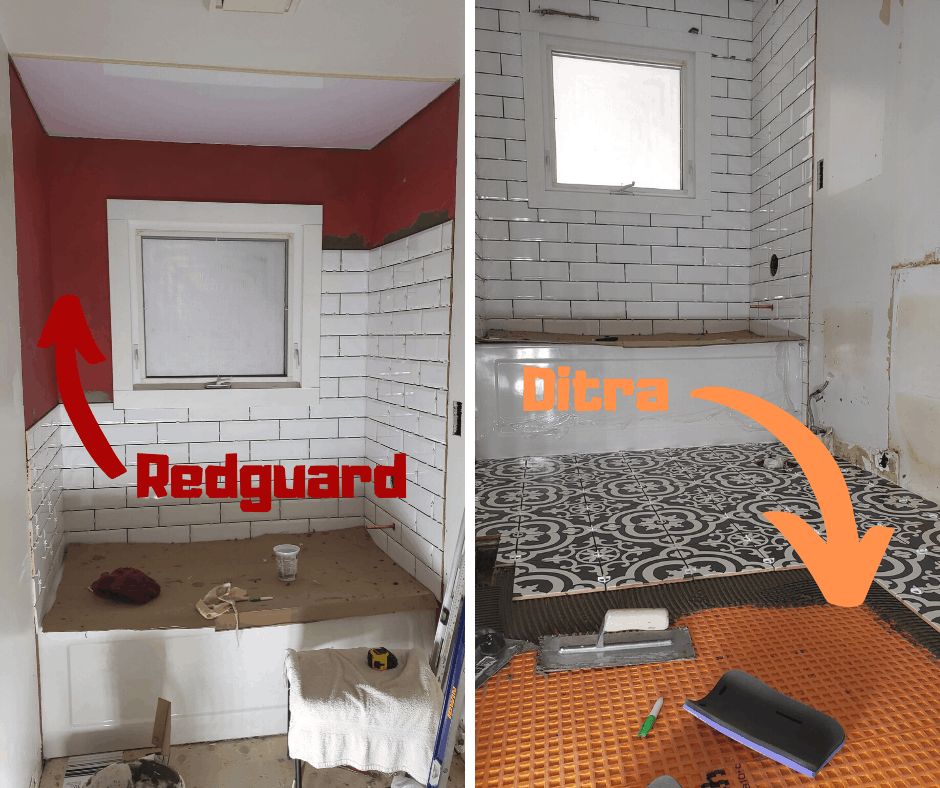
Although no one will ever see these elements once the bathroom is complete, they are important when completing a bathroom renovation that will last for years.
With that all being said, estimate a budget between $2000 and $5000 dollars for a standard bathroom renovation if you are completing the majority of the work.
READ: Main bathroom remodel at the Beige Bungalow
READ: Planning a home renovation
2) Plan ahead
I know this seems incredibly obvious. Yet somehow I still hear stories of people buying bathtubs and vanities that don’t fit, or way too much tile. Heck, I managed to short myself ONE tile for the master bathroom shower at the Beige Bungalow. It happens, so do your best to plan ahead.
Here are some important measurements, especially in older homes:
- Tub size (most standard tubs are 60″ long). However, measure the width as well.
- Vanity size. Consider leaving enough space for cleaning.
- Toilet size. Yes seriously. Older toilets often required less space from the closet flange to the finished wall. This can be an issue when it comes time to install a new toilet (standard is ~12″ to finished wall).
- Measure the square footage for tile and add roughly 10% for cutoffs.
- Shower head height. I don’t know what it is with older houses, but everyone must have been shorter back in the day. Today’s standard is roughly 80″ above the tub floor.
3) Check for ventillation
A bathroom exhaust fan is an absolute must. The bathroom is the dampest room in the house and can be a breeding ground for mold if left unchecked.
An easy way to check for sufficient ventilation in older homes is the tissue test. Hold a tissue to the bath fan and it should suck it up tight to the grill. If it doesn’t, replace the exhaust fan with a new unit.
4) Storage solutions
We never have enough storage room in our homes, let alone in the bathroom. If you have the space, include smart storage solutions. This can mean replacing a standard mirror with a medicine cabinet, or using a full vanity instead of a pedestal sink.
If you have even more space, add some built in cabinets or shelving. The extra storage will be welcomed, and it can also add a stylish touch to the bathroom.
5) Know your limits
We all like to think we are Chip or Joanna Gaines, but sadly, we are not.
There are just certain things that should be left to professionals. Only you will know what your limits are, but listen to your gut. The extra few hundred dollars to have someone do the plumbing, electrical, or even tiling could be money well spent.
You are going to use the space every single day. Crooked tiles and unequal grout lines, or glass shower doors that don’t close quite right aren’t worth the years of annoyance.
Bonus: Reach of to family and friends for help
DIY means completing as much as you can yourself, but it doesn’t mean going at every task alone.
I’m sure there are multiple friends that would happily help with a hammer during demo, or maybe you have a plumber or electrician in the family. Enlist anyone and everyone that might be helpful. Just be sure to pay back the favour later on.
Revealing Hilltop’s bathroom renovation
Alright, it’s time for what you actually came here for- the revel.
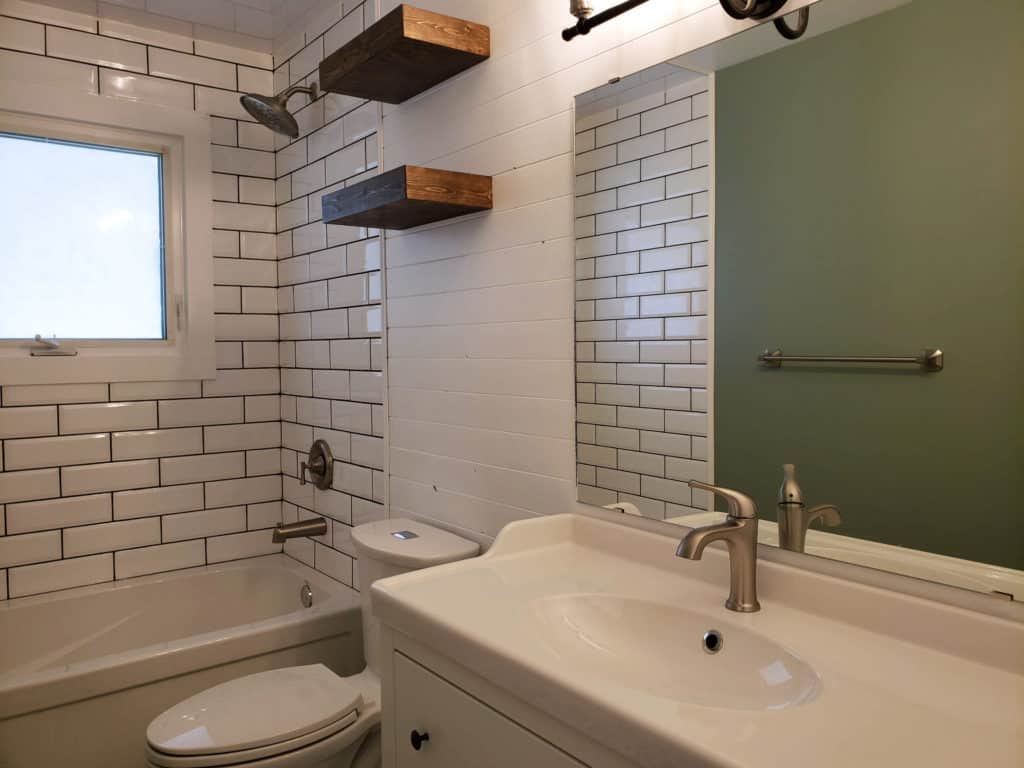
I am very happy with how the bathroom renovation finished. The floor is everything I wanted it to be, and the white shiplap added that extra touch of comfort and hominess.
I decided to add a splash of color to the space at the very end, painting the back wall in the same green as the butcher block island.
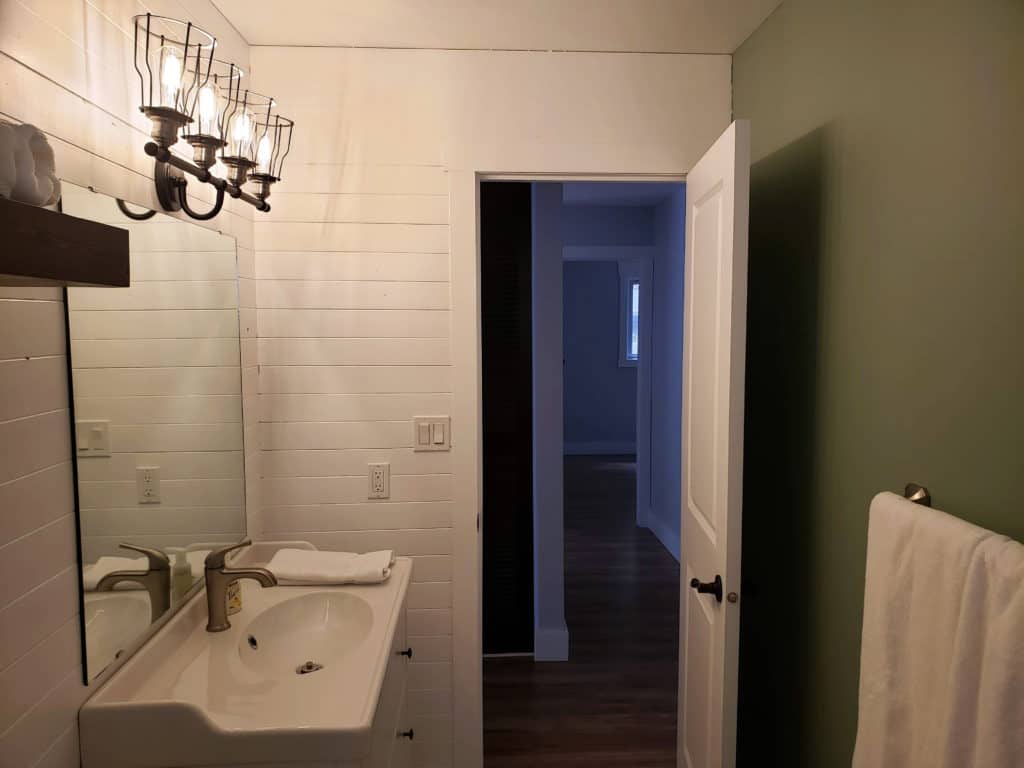
You can also see in the photo above how we wrapped the shiplap around to include the entry wall for continuity.
It is often the smaller details that help pull a design together. For instance, the vanity includes the classic farmhouse lipped sink with built in backsplash, and the sink faucet resembles an old water pump.
Whether you are ready to take the plunge and tackle a bathroom DIY style, or you are hitting up Home Depot for some paint, I hope our bathroom renovation at Hilltop has inspired you in some way or another.
You may also enjoy:

No Comments