A few months ago we finished up another project at the Beige Bungalow. This time around it was adding some much needed curb appeal to the house as we tackled the front garden. But I wanted to share with you guys how easy it is for anyone to tackle a project such as this one in a weekend. Plus it will be great having these photos to look back upon as the plants grow in the years to come.
Front garden before:
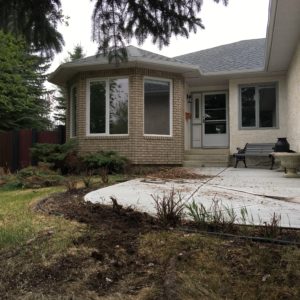
The existing front garden was sad and tiresome. It looked as though it hadn’t seen any love for more than a few years. The front bay window was home to overgrown and mostly dead junipers, while several small potentilla’s were dotted haphazardly along the walkway. The simplest way forward was to remove everything and start from scratch.
I do love a good landscaping day. There isn’t much more relaxing than sinking your hands into the dirt and transforming the curb appeal of a house in such a short time.
Front garden design ideas:
Like any other project, it is best to start with a plan. But don’t be afraid to make changes on the fly- this is often how designs go from good to great. I have a very similar M.O. when I begin any landscaping:
Garden bed sizing
What size of front garden bed is required to fit the house. Homeowners typically make their front garden bed too small or stay too close to the house foundation. When you are creating a front garden design, you want the beds, plants, and lines to naturally lead your eyes throughout the yard, eventually settling on the home. This is what is referred to as concept lines.
The easiest way to do this is to grab some rope, or even a rubber garden hose and start laying it out on in the yard. Be sure it is a rubber hose and not a polyurethane hose that stays in its coiled shape. You want one of THESE, not THIS.
Plant selection
- Try and stick with a colour theme. That’s not to say that all of your plants need to have the same colour, but stick within the same range of tones. A total mish-mash of colours will look unappealing and out of control.
- HOWEVER, you still want to bring in some variation. The best way to do this is through the use of textures, tones, and sizes. In addition to flower colour, be sure to look at the shape and colour of the leaves, the colour of the stem, and the texture of the stem.
- Choose plants that are suited to the location you would like to plant them. No matter how much you love a specific plant, if it loves full sun and you plant it in shade, it won’t grow.
- Many people will tell you to choose perennials over annuals as they come back each year. This is true with a slight caveat; try and include some annual flowers as you can generally keep them blooming all summer in comparison to a flowering perennial.
- Look for plants that also include some winter interest. For more info on that, be sure to check out our post on how to add winter interest to your garden.
- Lastly, always consider the mature size of a plant before putting it in the ground. Don’t plant that big spruce 8 feet from your house. It may look great now, but you will sure be upset a few years down the line.
If you are looking for some help in this category, there are a number or great books available. The internet can also be a great resource to help with finding natural plant pairings.
Plant groupings
Plants always look best when paired together. Typically odd numbered groups (3,5, etc.) are the most visually pleasing. That being said, you can also get creative by having groupings play of one another even though they are not all together. Take a look at the Karl Foerster reed grasses in the photos below. Although one grouping only has 2 grasses, they balance nicely with the grouping of 5 under the bay window.
Plant heights
Be cognizant of the mature plant height and use this in your front garden design. Start with lower ground covering plants near the edge of your bed, working your way to the tallest plants at the back. Not only is this visually appealing, it gives your garden depth.
Use rock and/or boulders
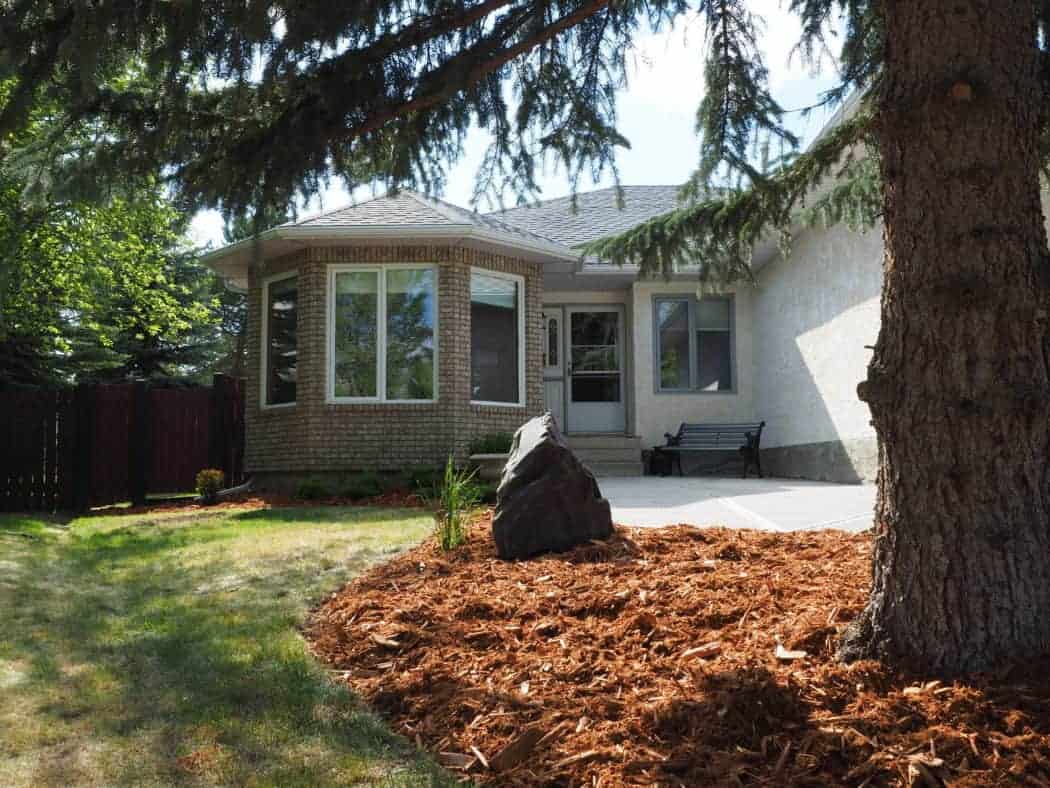
Do not be afraid to bring in a big boulder, or add some smaller rocks throughout the design. The sharp contrast to the soft textured plants creates visual symmetry. Below you will see out 1250 lb rundle boulder (believe it or not we placed it without the aid of a skid steer).
So what exactly did we purchase for this front garden design. We kept it rather simple and went with:
- 1 satin chocolate ninebark
- 1 Bailey’s compact cranberry
- 7 Karl Foerster reed grasses
- 3 Calgary Boxwoods
- 4 Calgary carpet junipers
So like pretty much everything else…progress photos are severely lacking for this job. So we’ll dive right into the finished product!
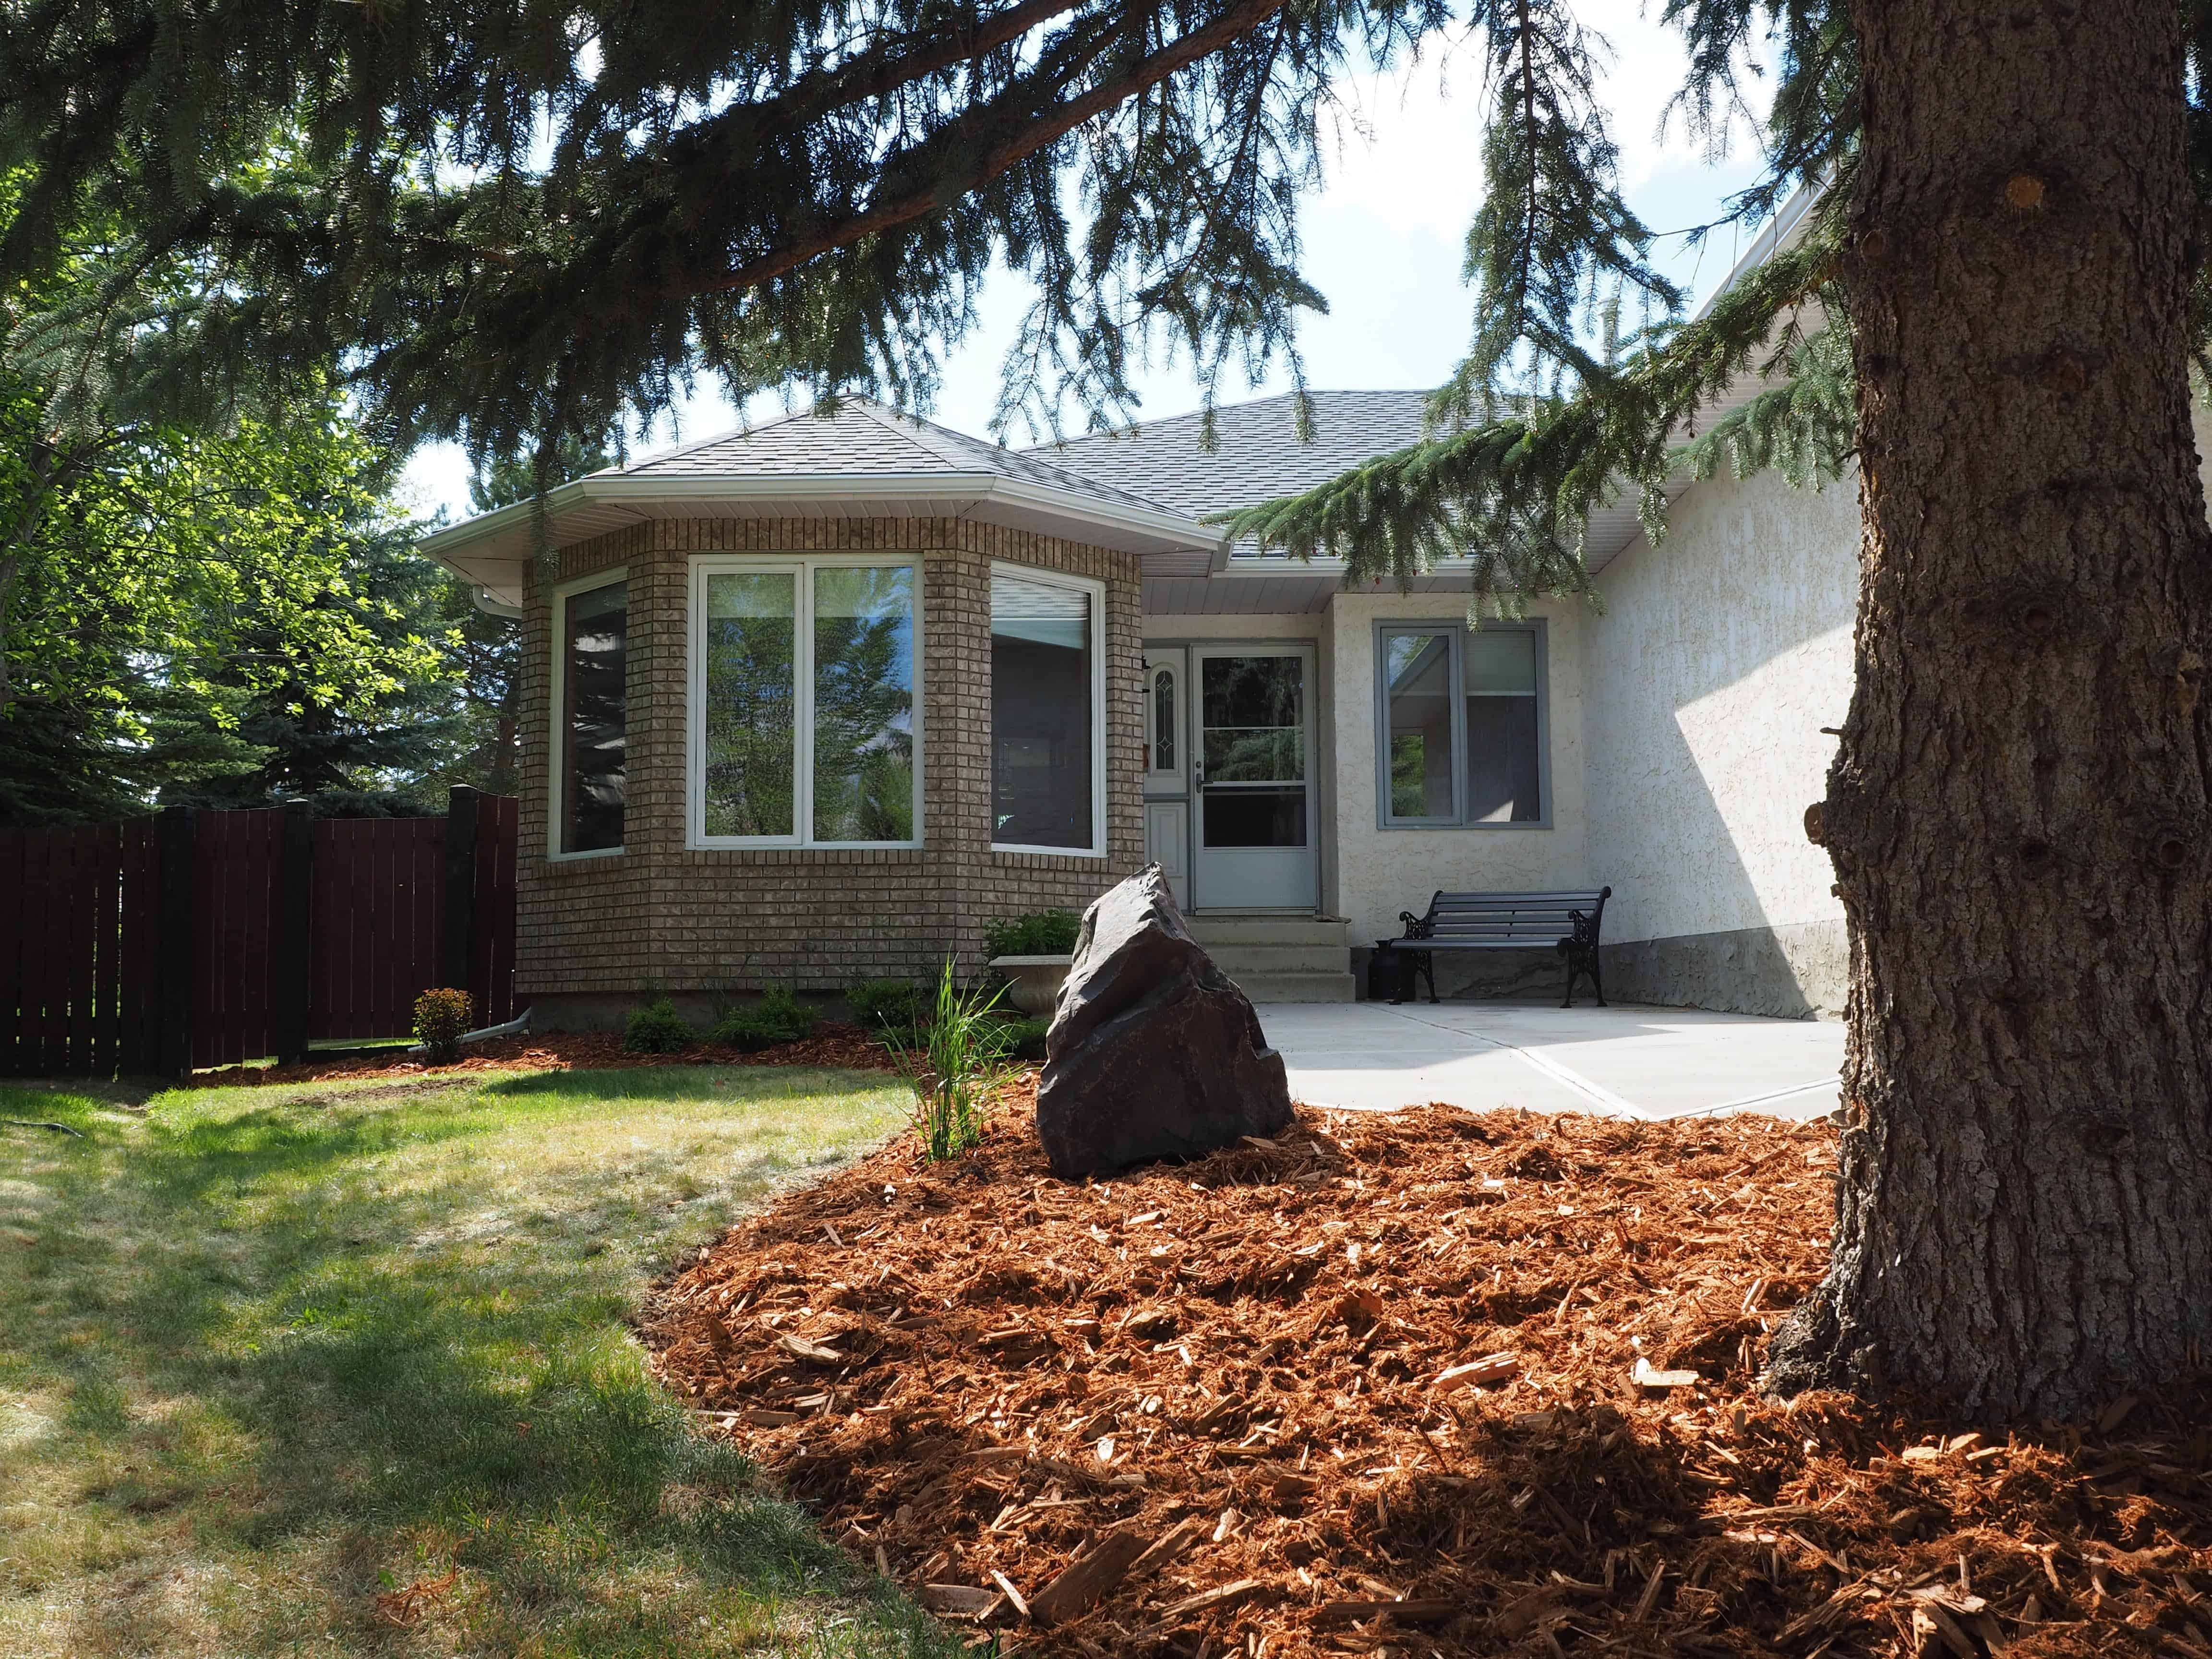
In this photo you can see how we used the edge of the front garden bed to create a concept line that draws your eye from the front of the yard toward the house. We used a large decorative boulder to provide some contrast.
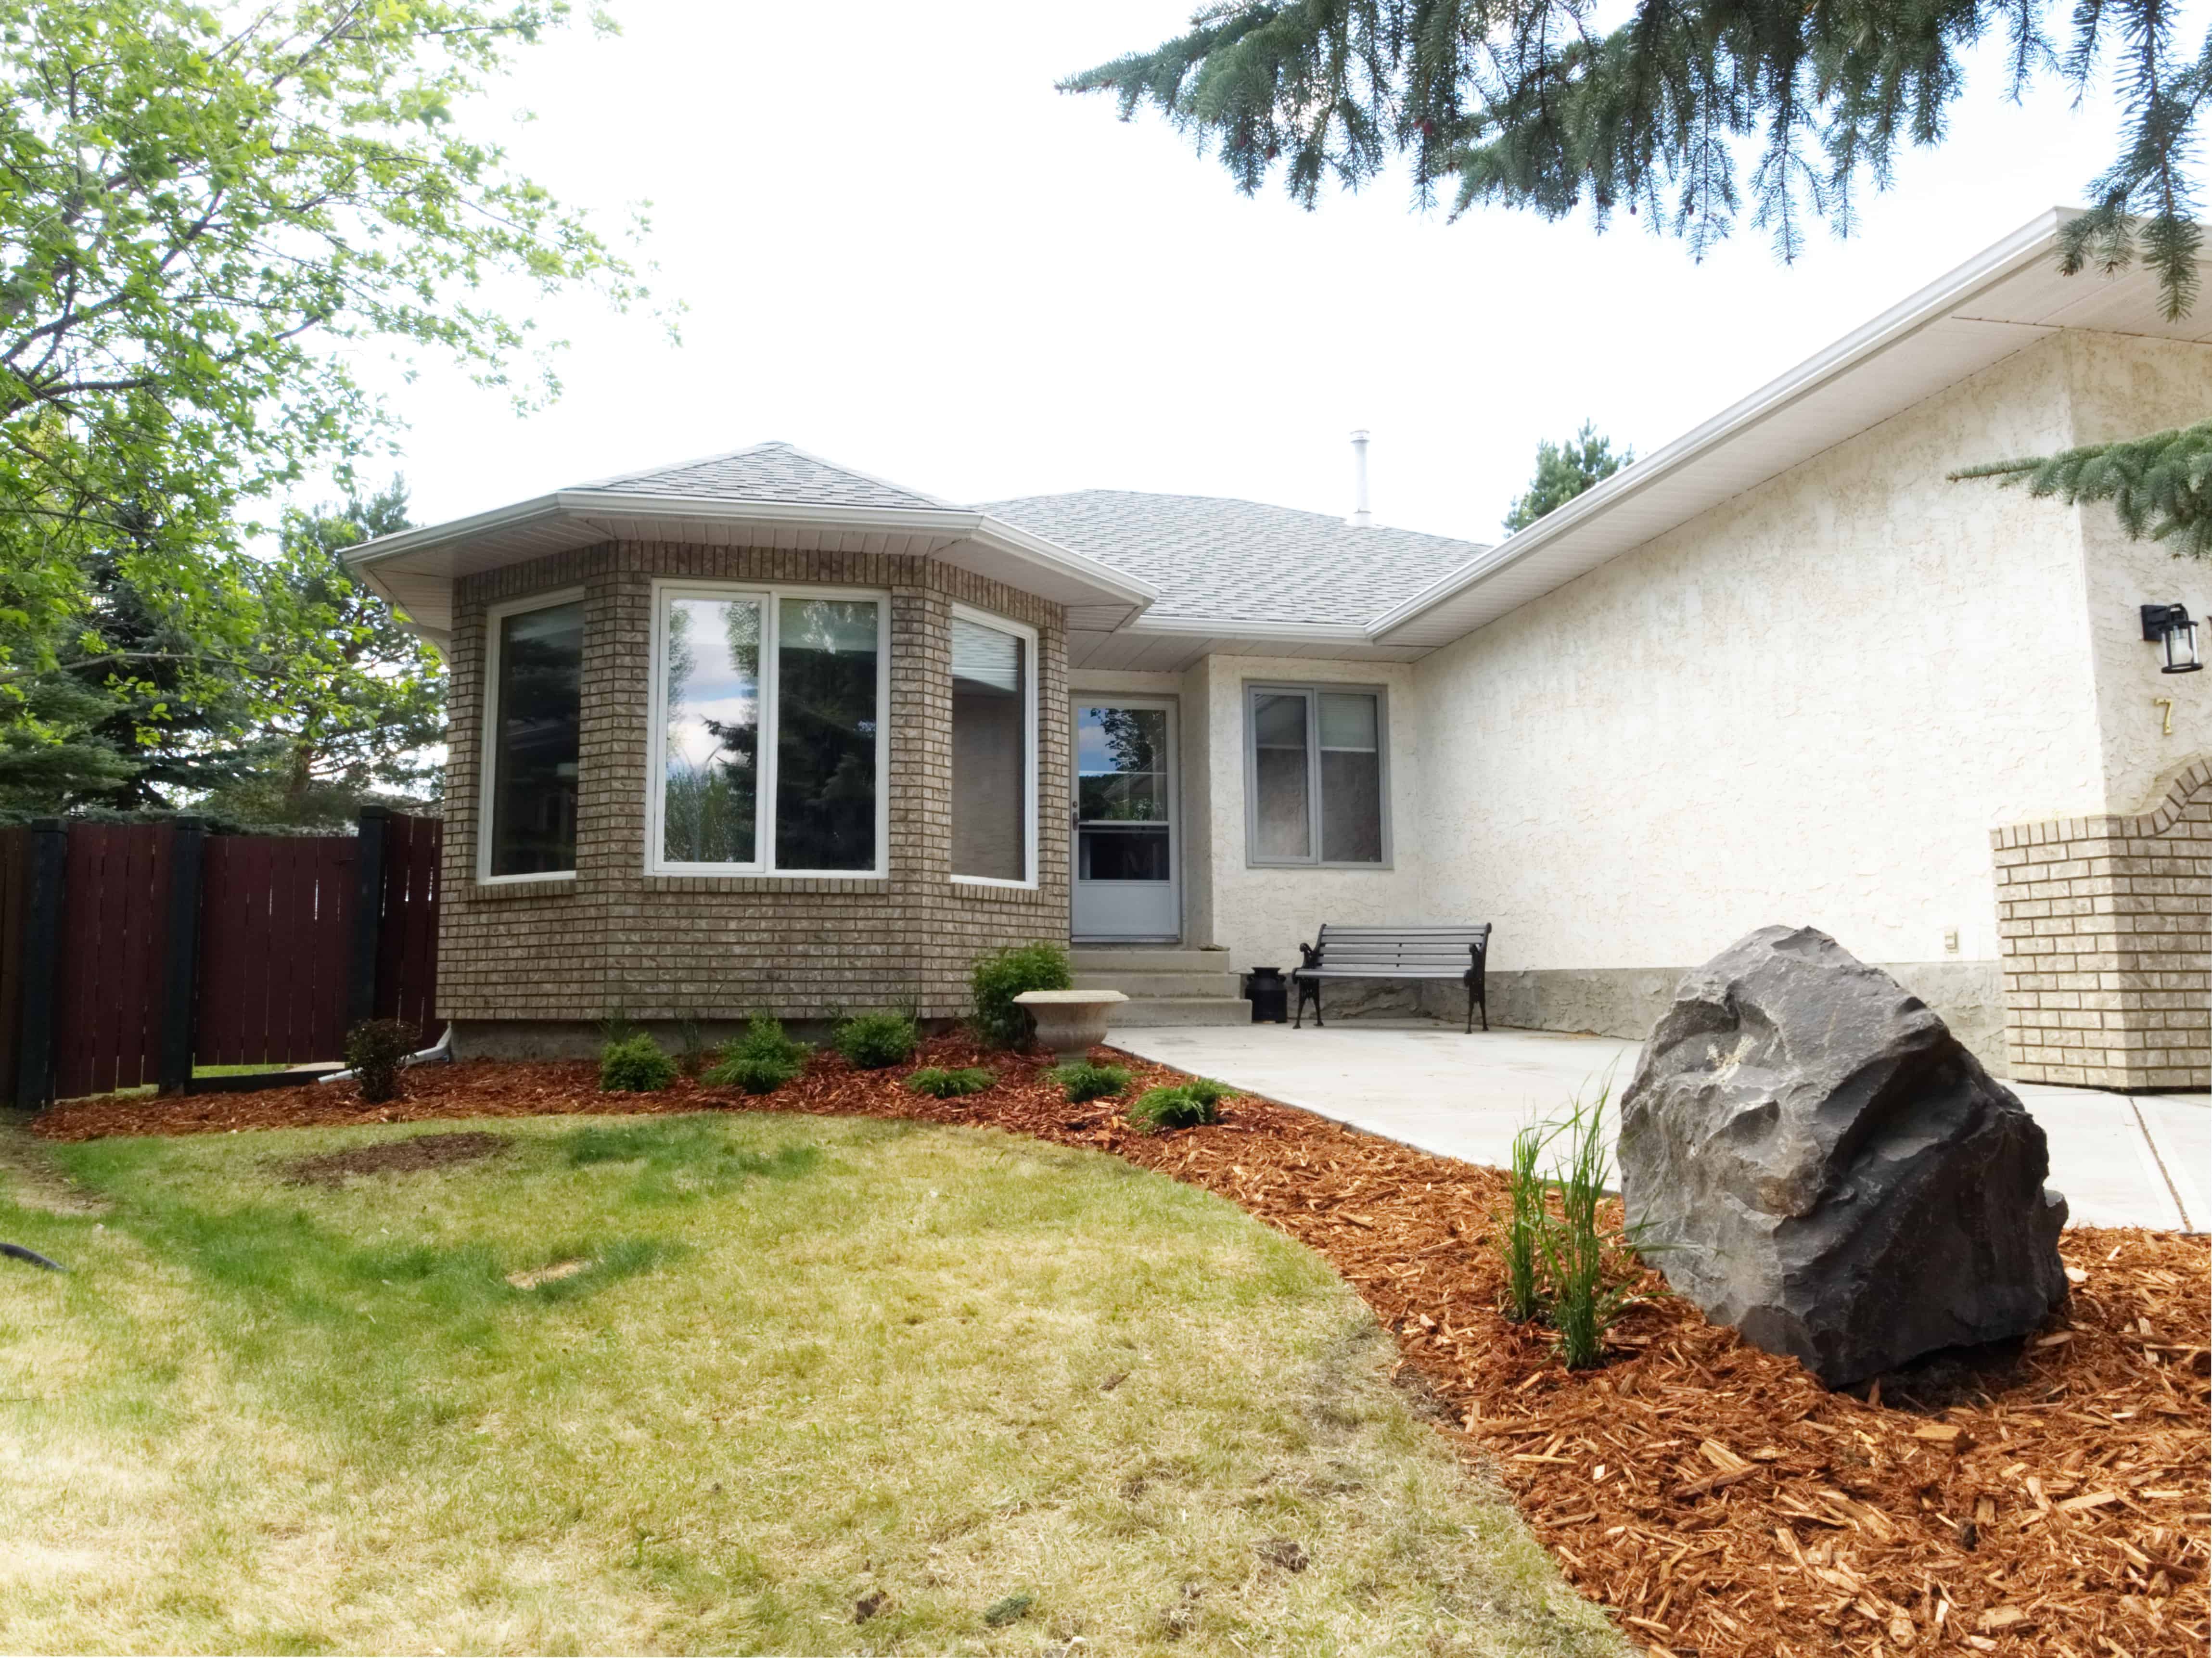
Here is another angle. Also yes, the grass sucks…we are working on bringing it back to life. The ninebark (far left) and cranberry shrub (nearest the front door) will anchor the design as they are larger shrubs when full grown.
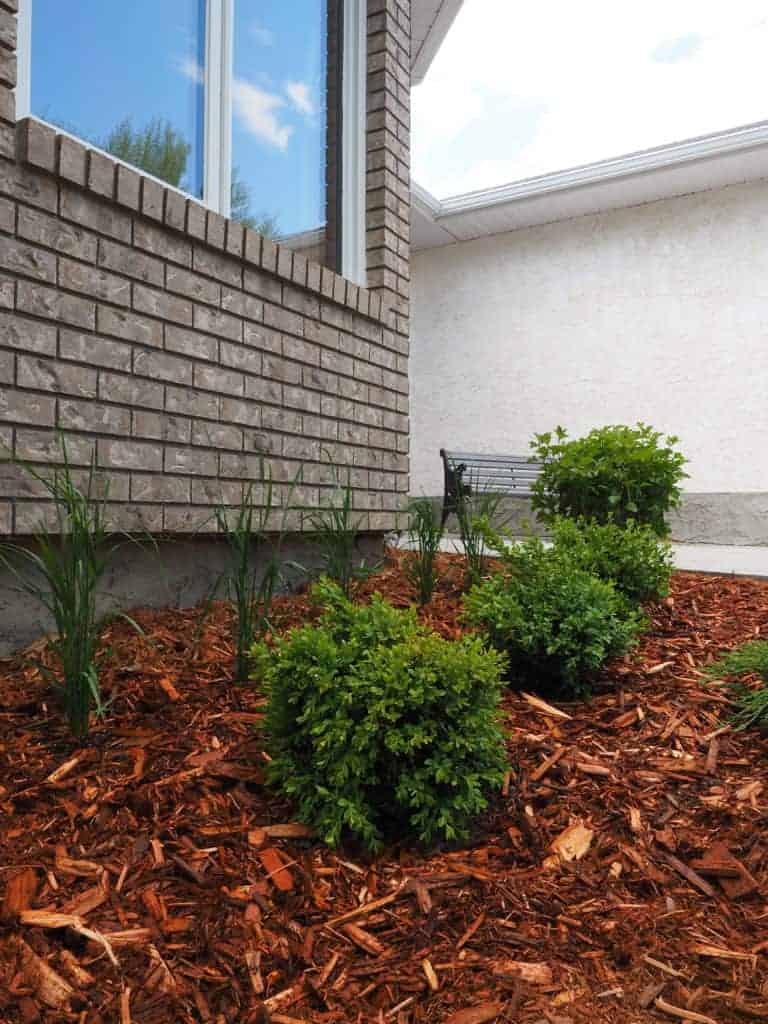
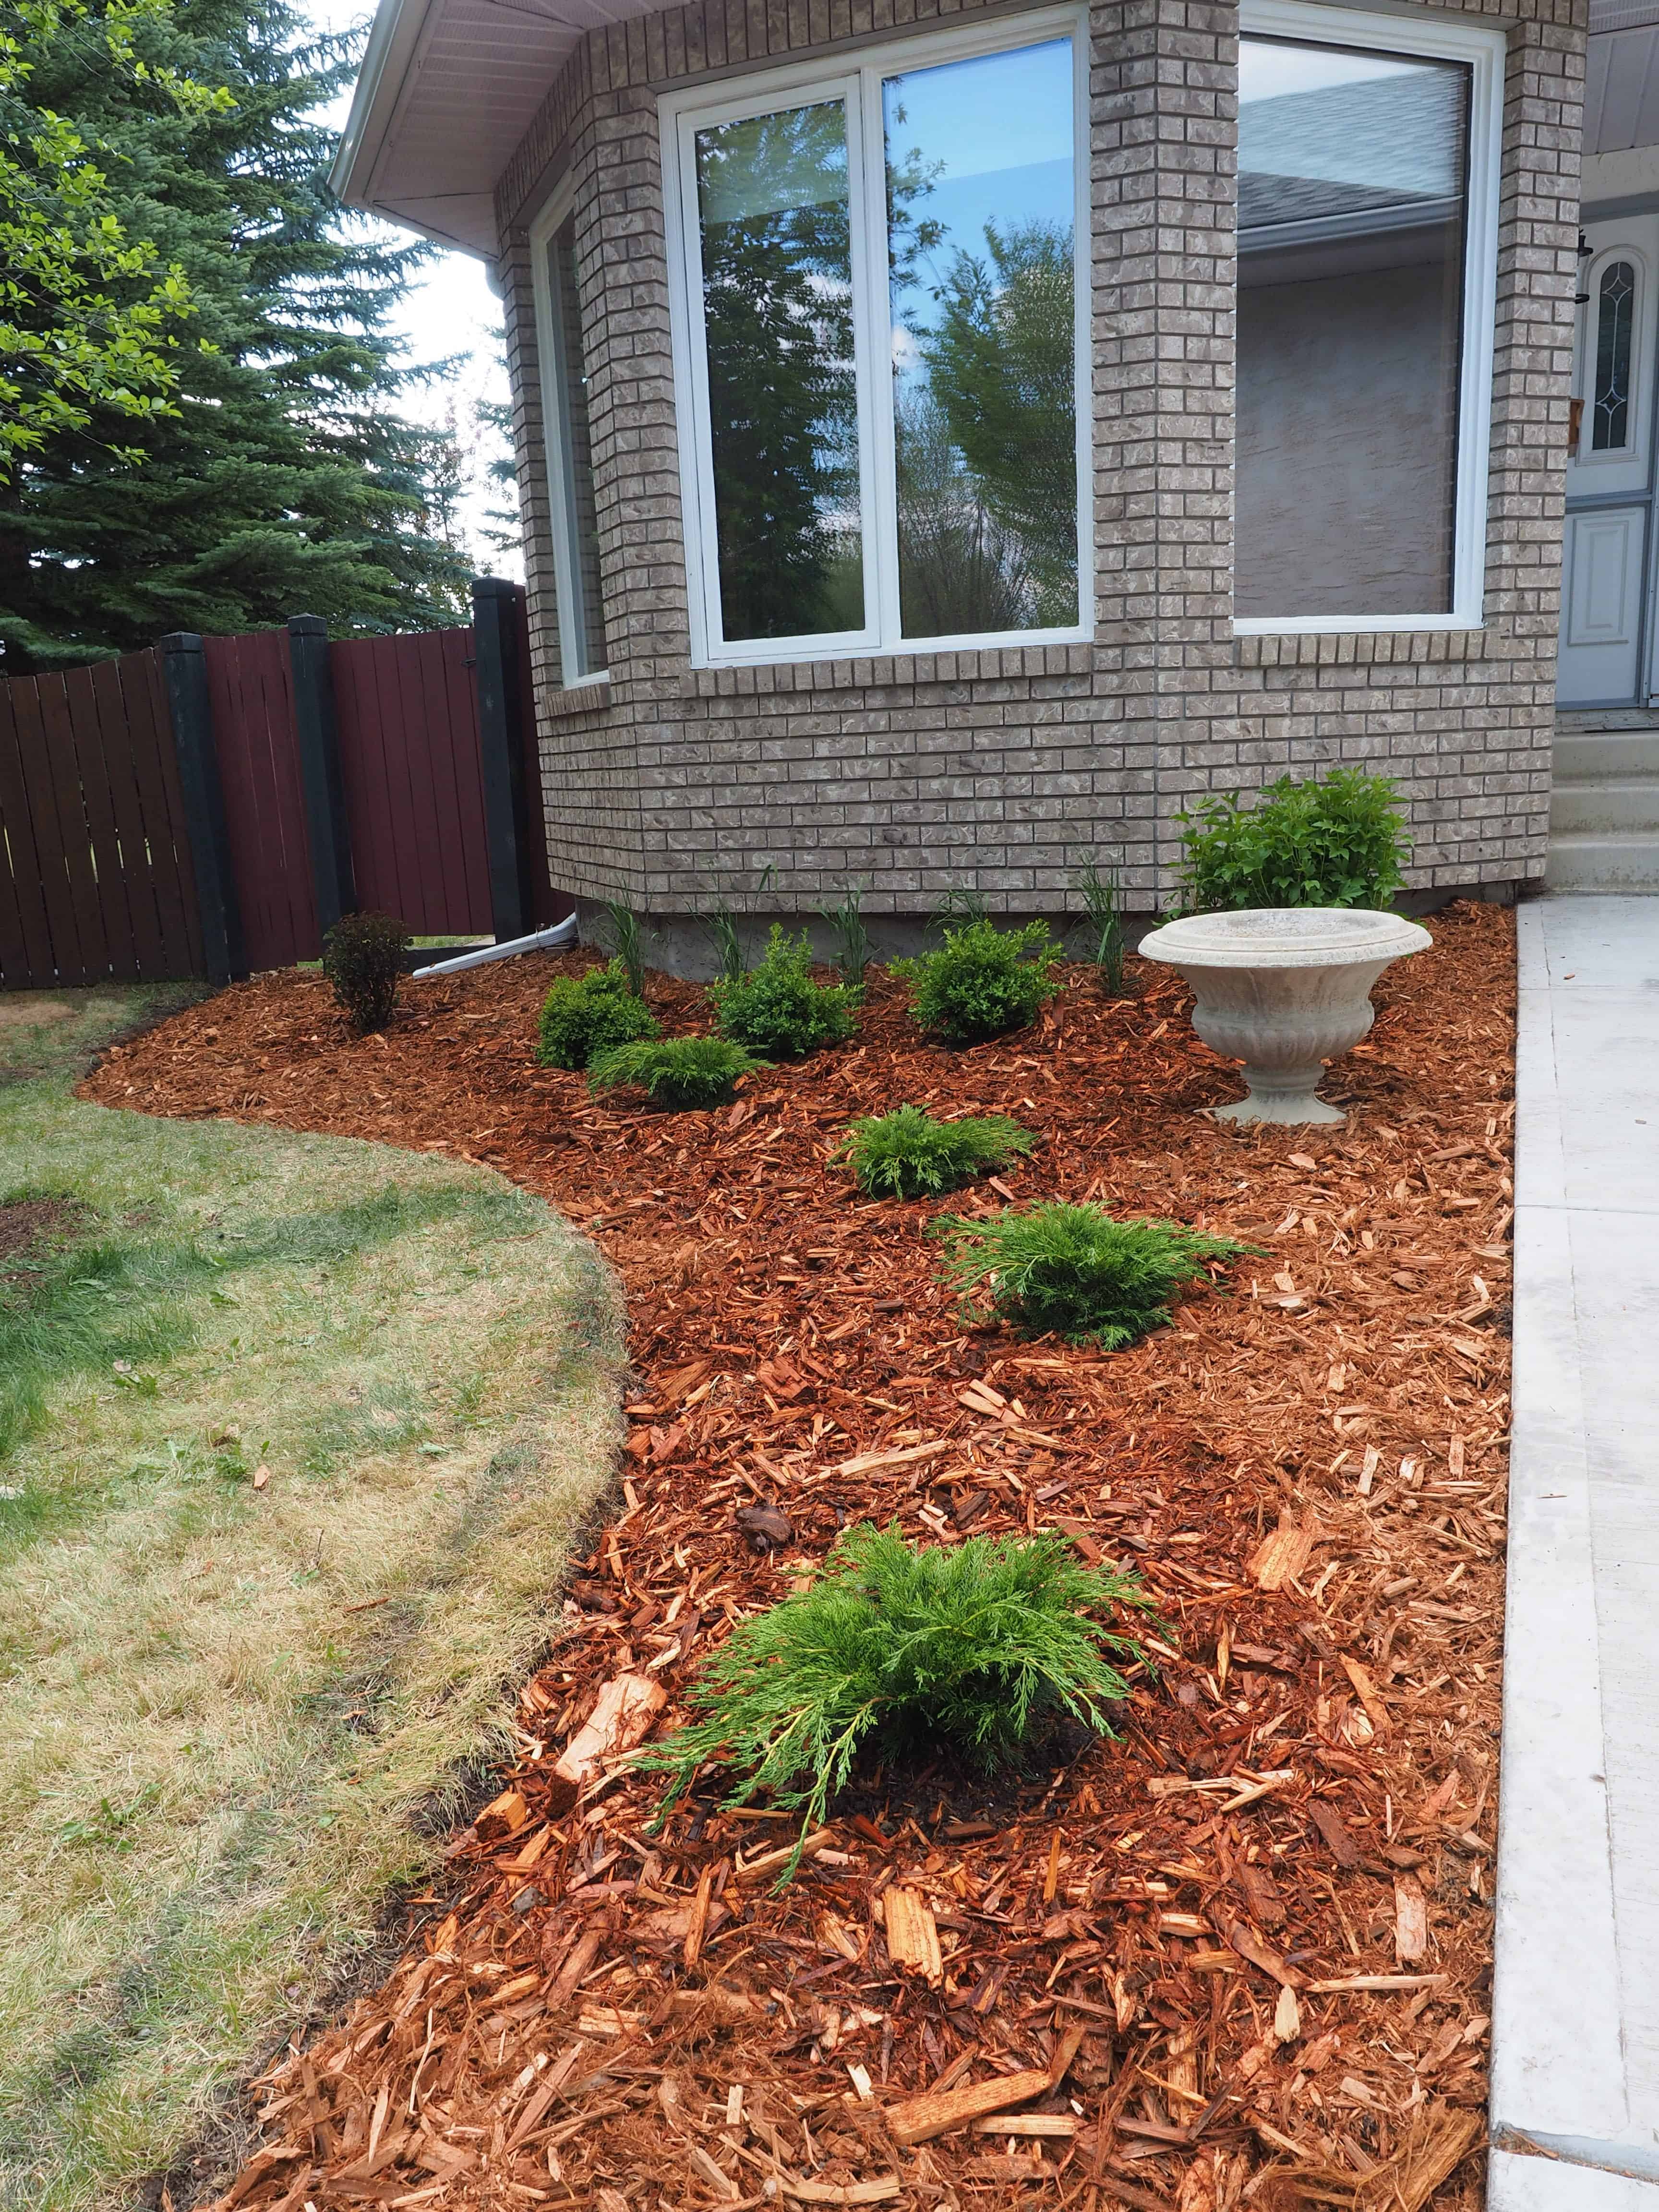
The reed grasses (under the large bay window) will provide year long interest with the golden reeds once grown. Both the boxwoods and the junipers will remain green year round to keep some color in our snowy climate. We have a variety of textures, heights, and growing styles in our plant selection. Finally, we finished everything off with a cedar mulch to help keep the ground moist and reduce weed growth. Plus it adds a nice finishing touch compared to just dirt.
There is still plenty more landscaping to complete at the Beige Bungalow, including the entire backyard. We also want to fill in the front with some annuals to add color and fill the space as the perennials take time to fill out. Stay tuned, I will provide an update on the curb appeal once everything has had a few months to grow!
If you are looking for more information on landscaping and design, be sure to check out some of our older posts:

No Comments